Installing the Mycroft Device Manager
Last updated: May 26, 2026
The Mycroft MDM agent installs on endpoints to collect device inventory, configuration, and compliance data in real time. It monitors security posture, sends alerts on deviations, and enables automated policy enforcement.
It also displays whether or not endpoint encryption is enabled on any devices connected. Helping achieve security in data at rest.
Installing the Mobile Device Manager
The first step to achieving device compliancy is to install the device management software. This is utilized by Mycroft to track compliancy and display device status in our computers page.
1. Navigate to the Employee Tasks section of the Mycroft Dashboard
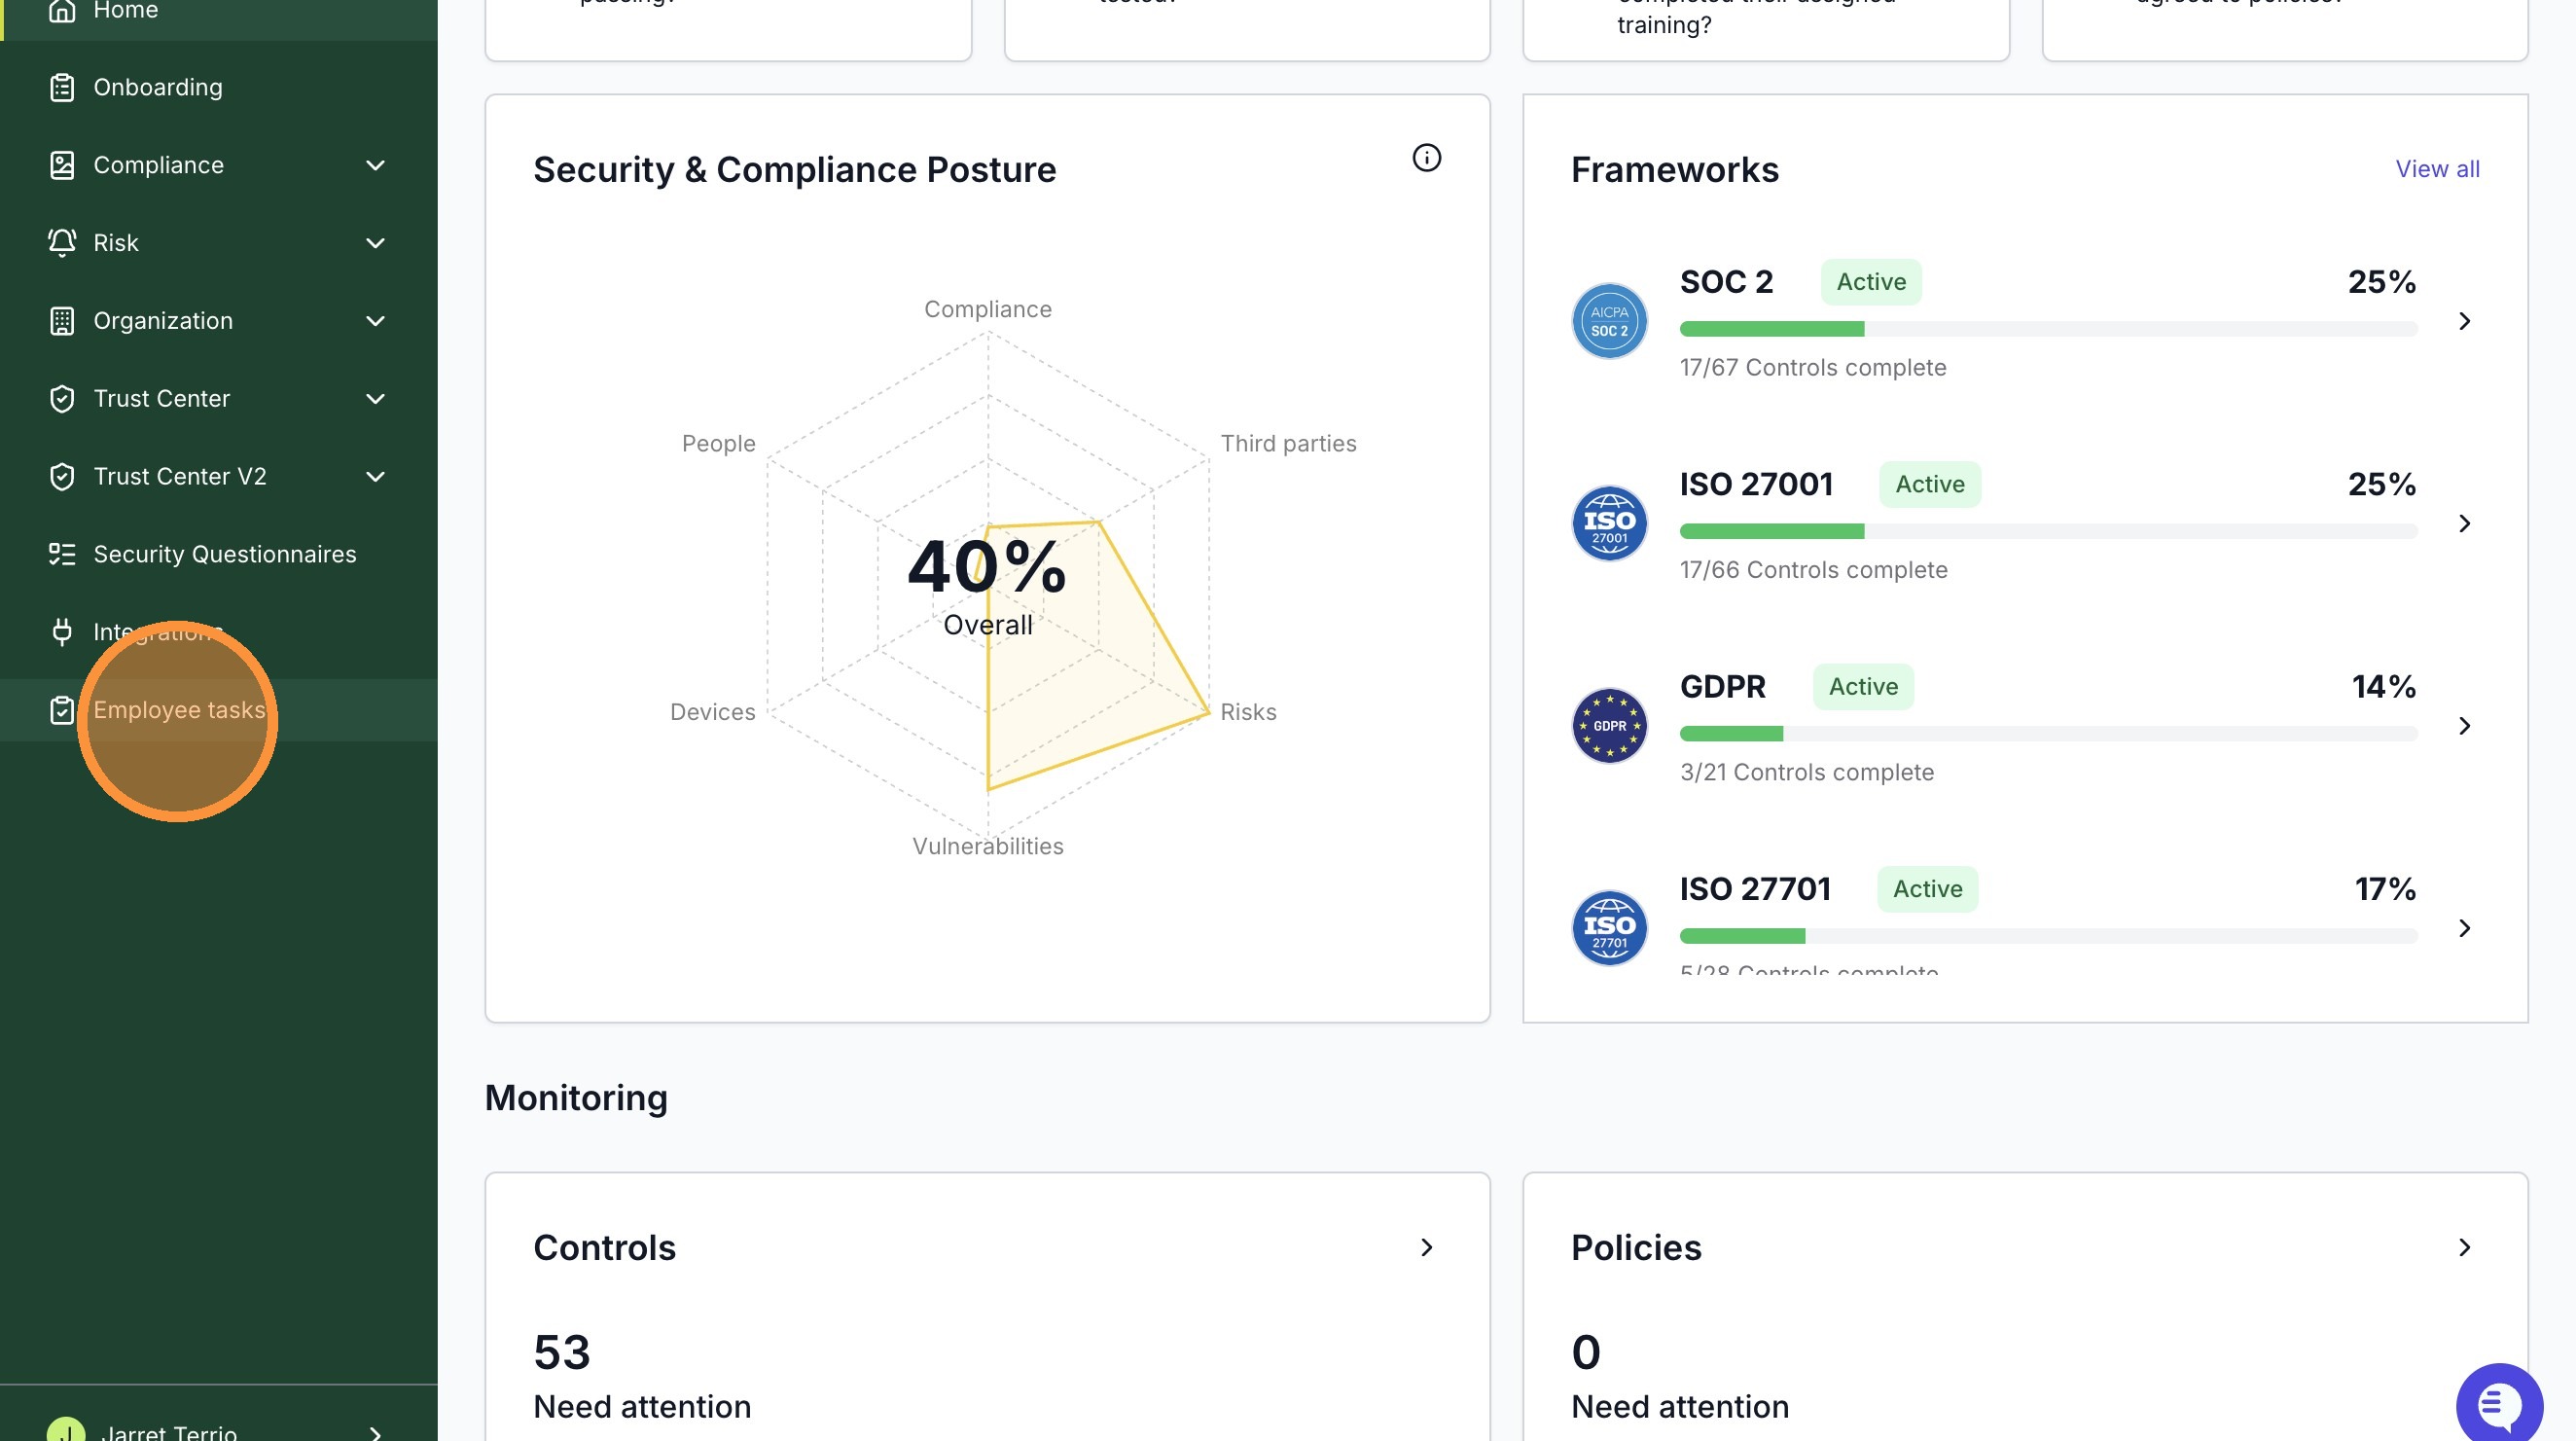
2. Select "Complete your Computer Setup" from the Task Menu.
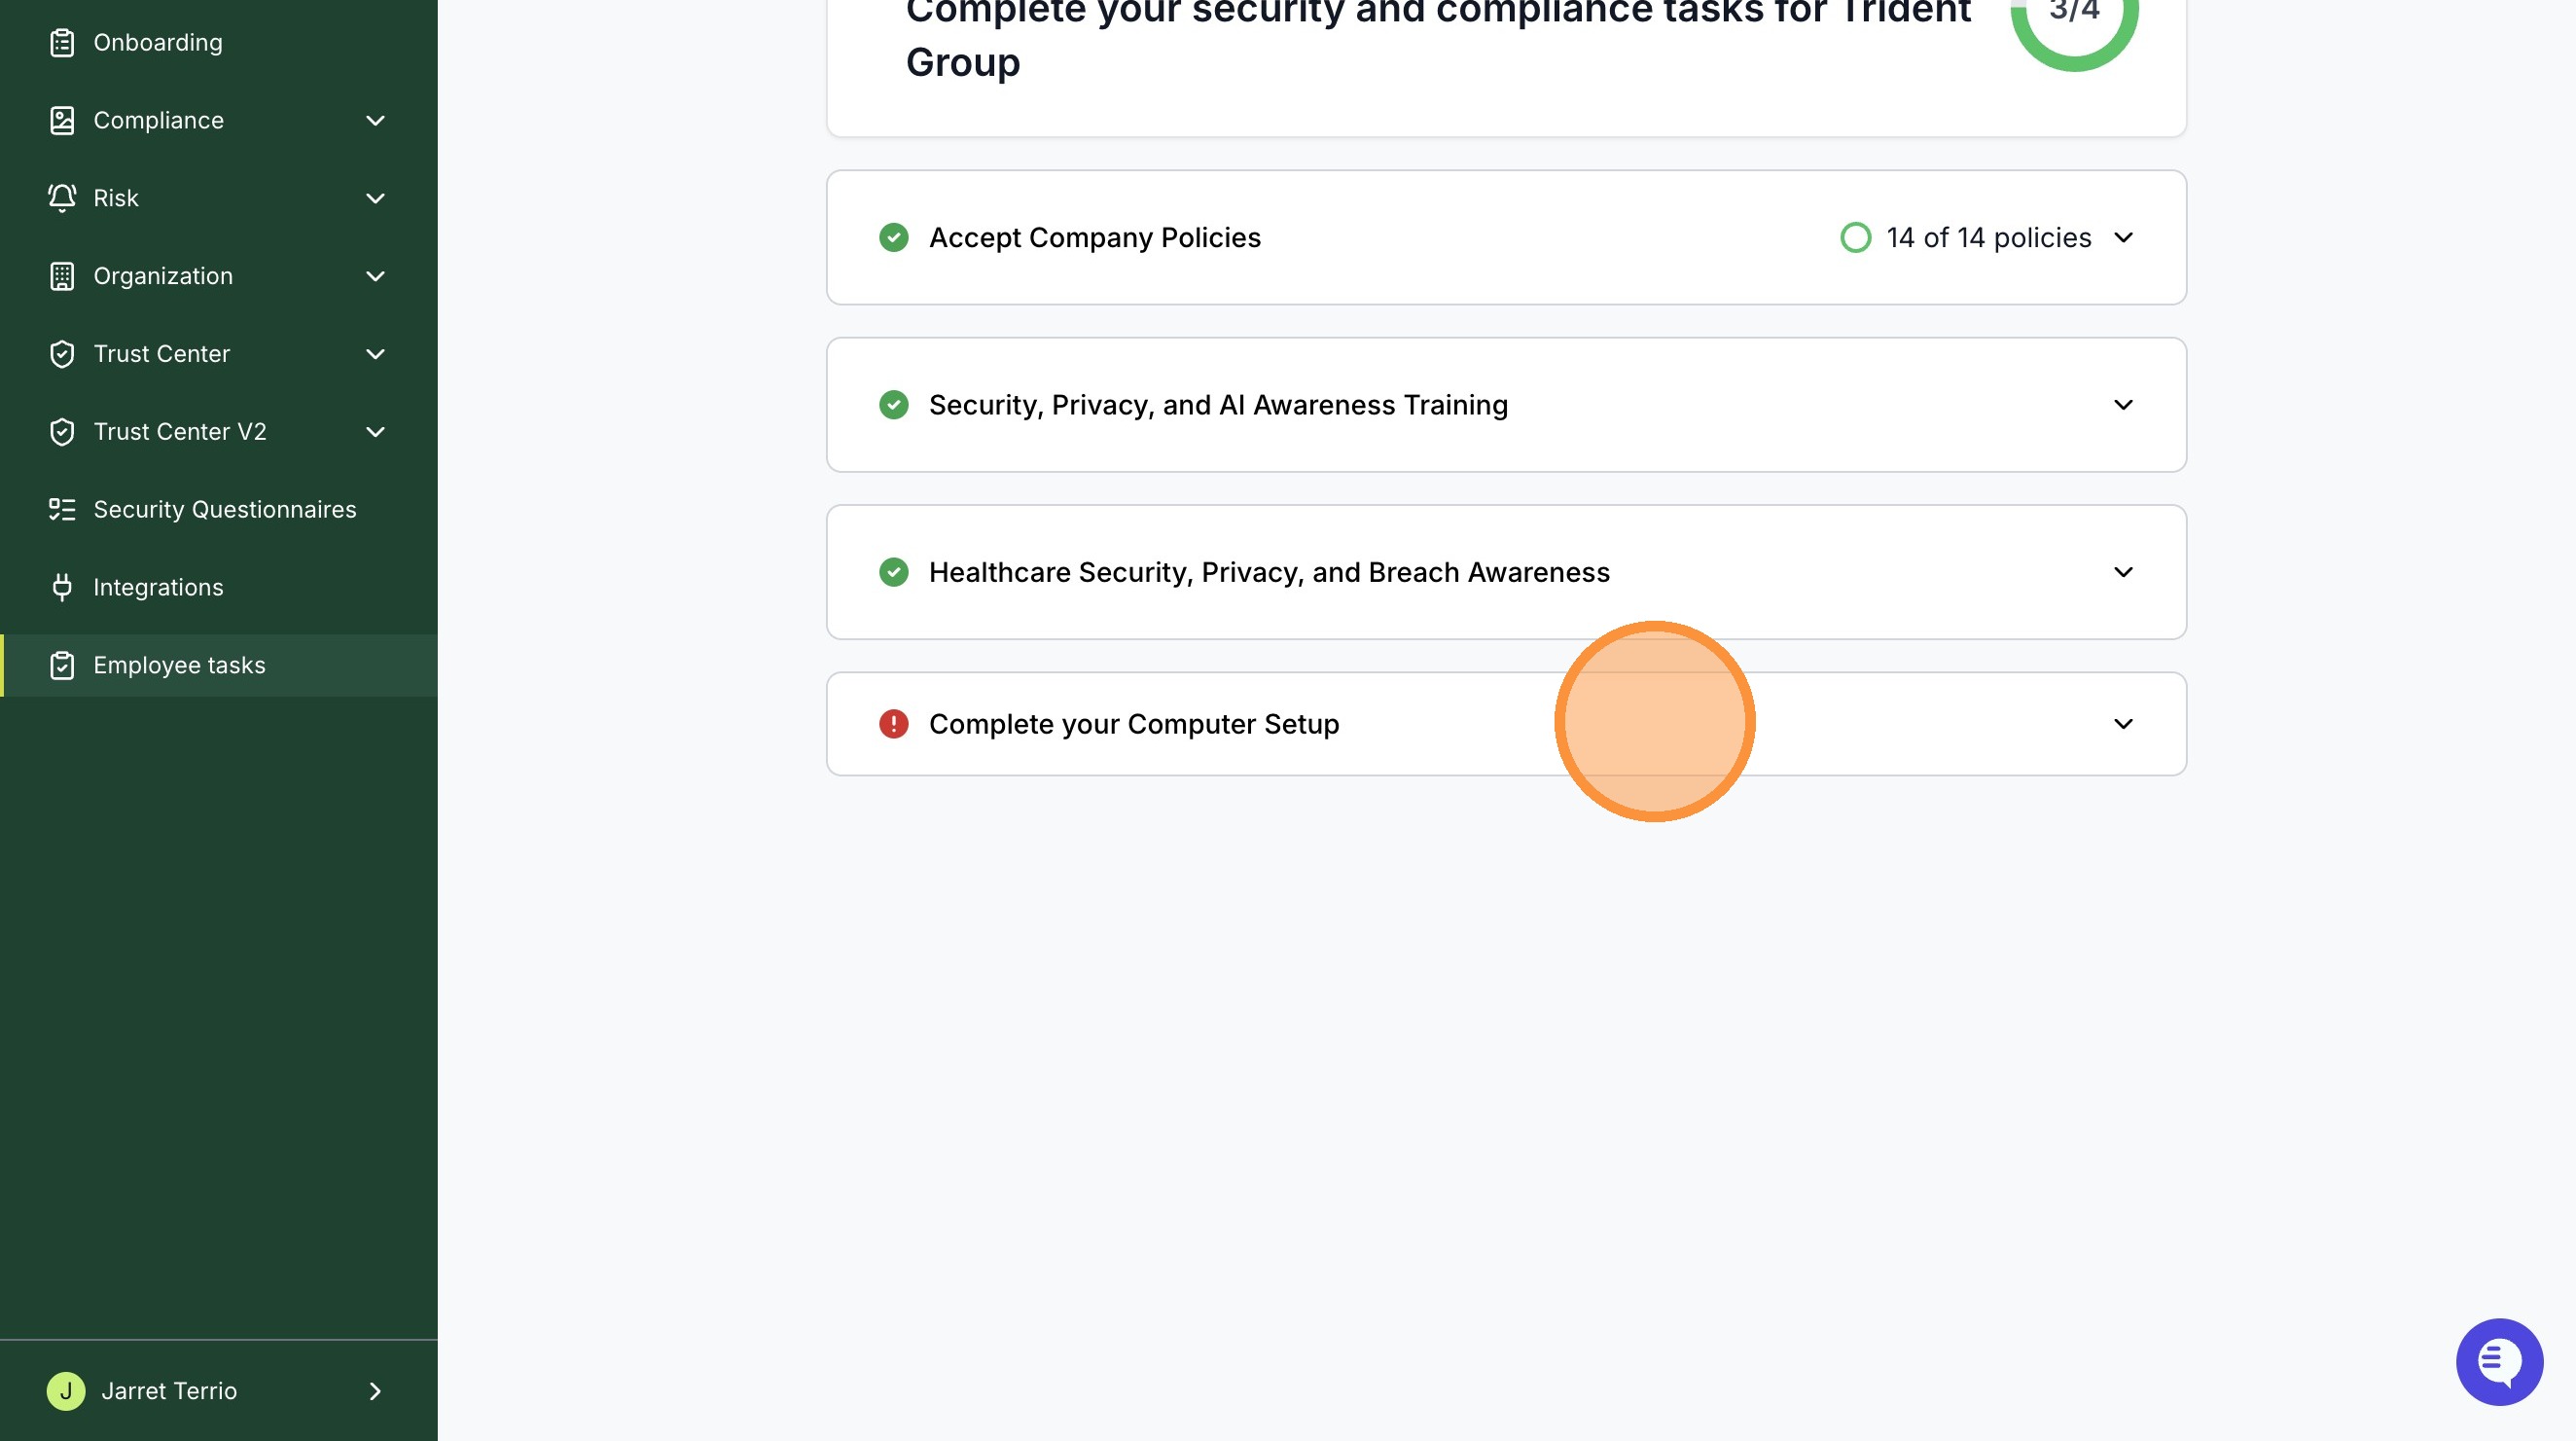
3. Click "Add Computer".
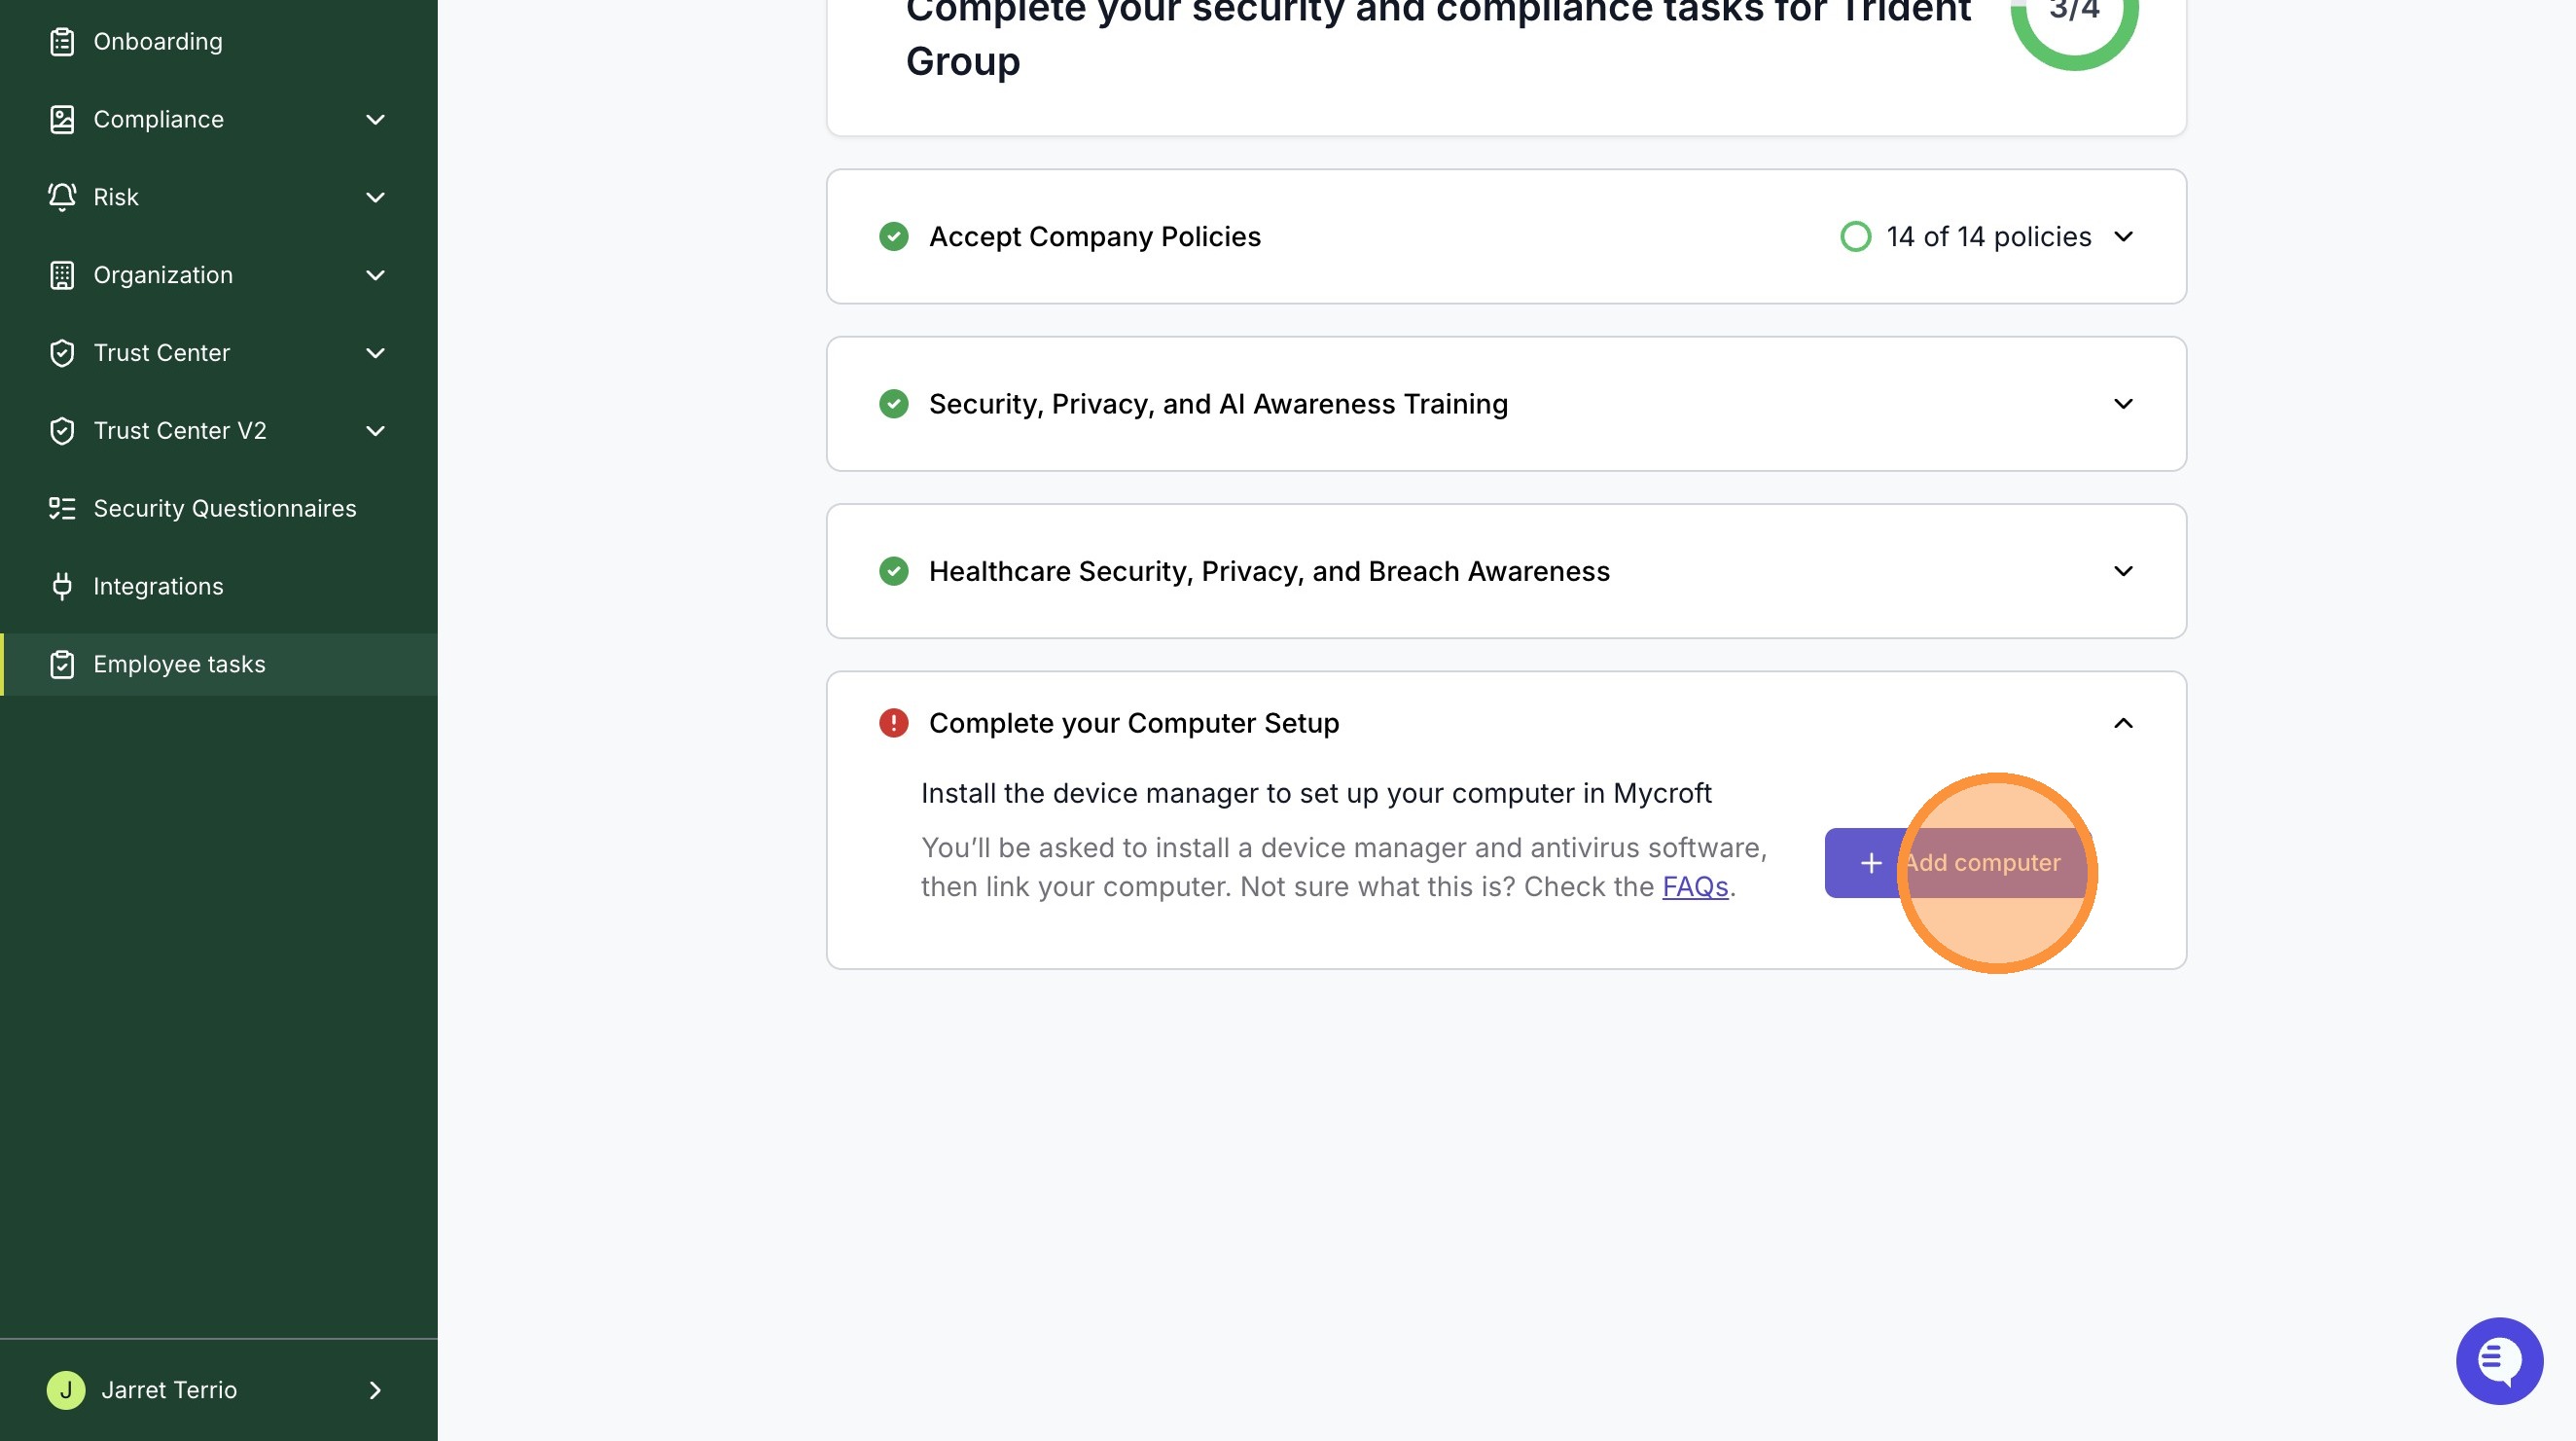
4. Select the Operating System the computer is using.
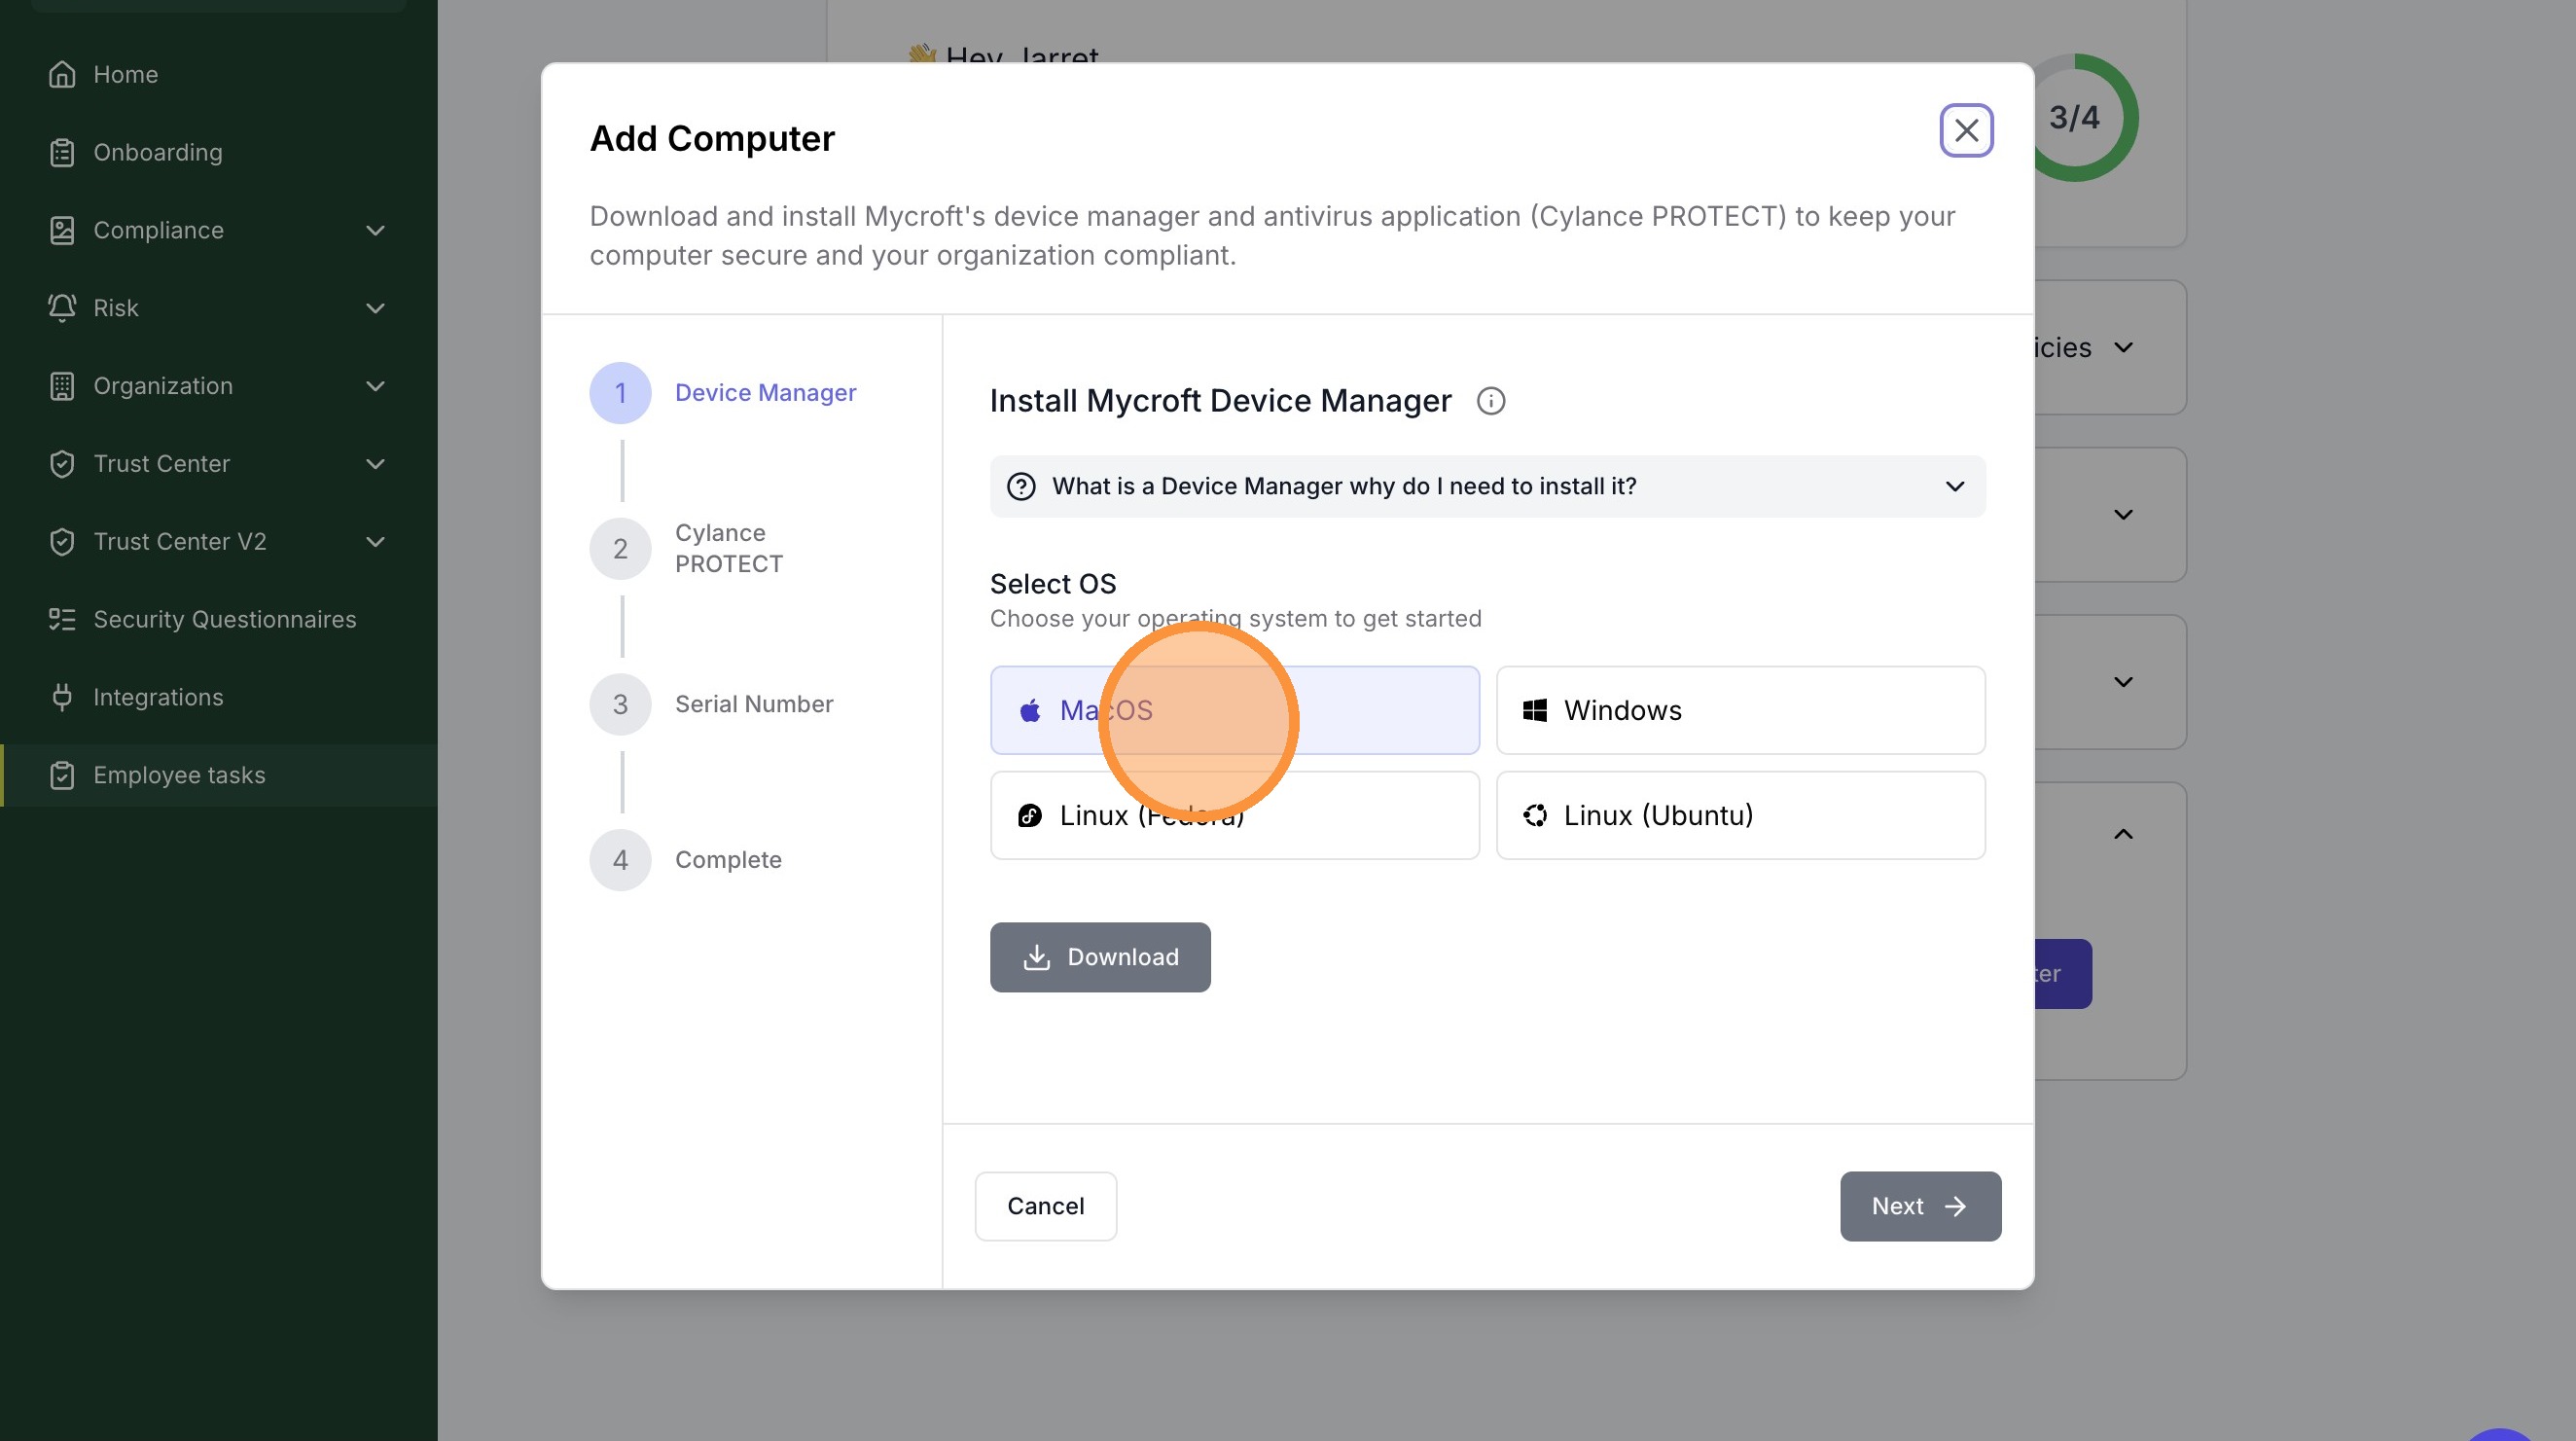
5. Click "Download"
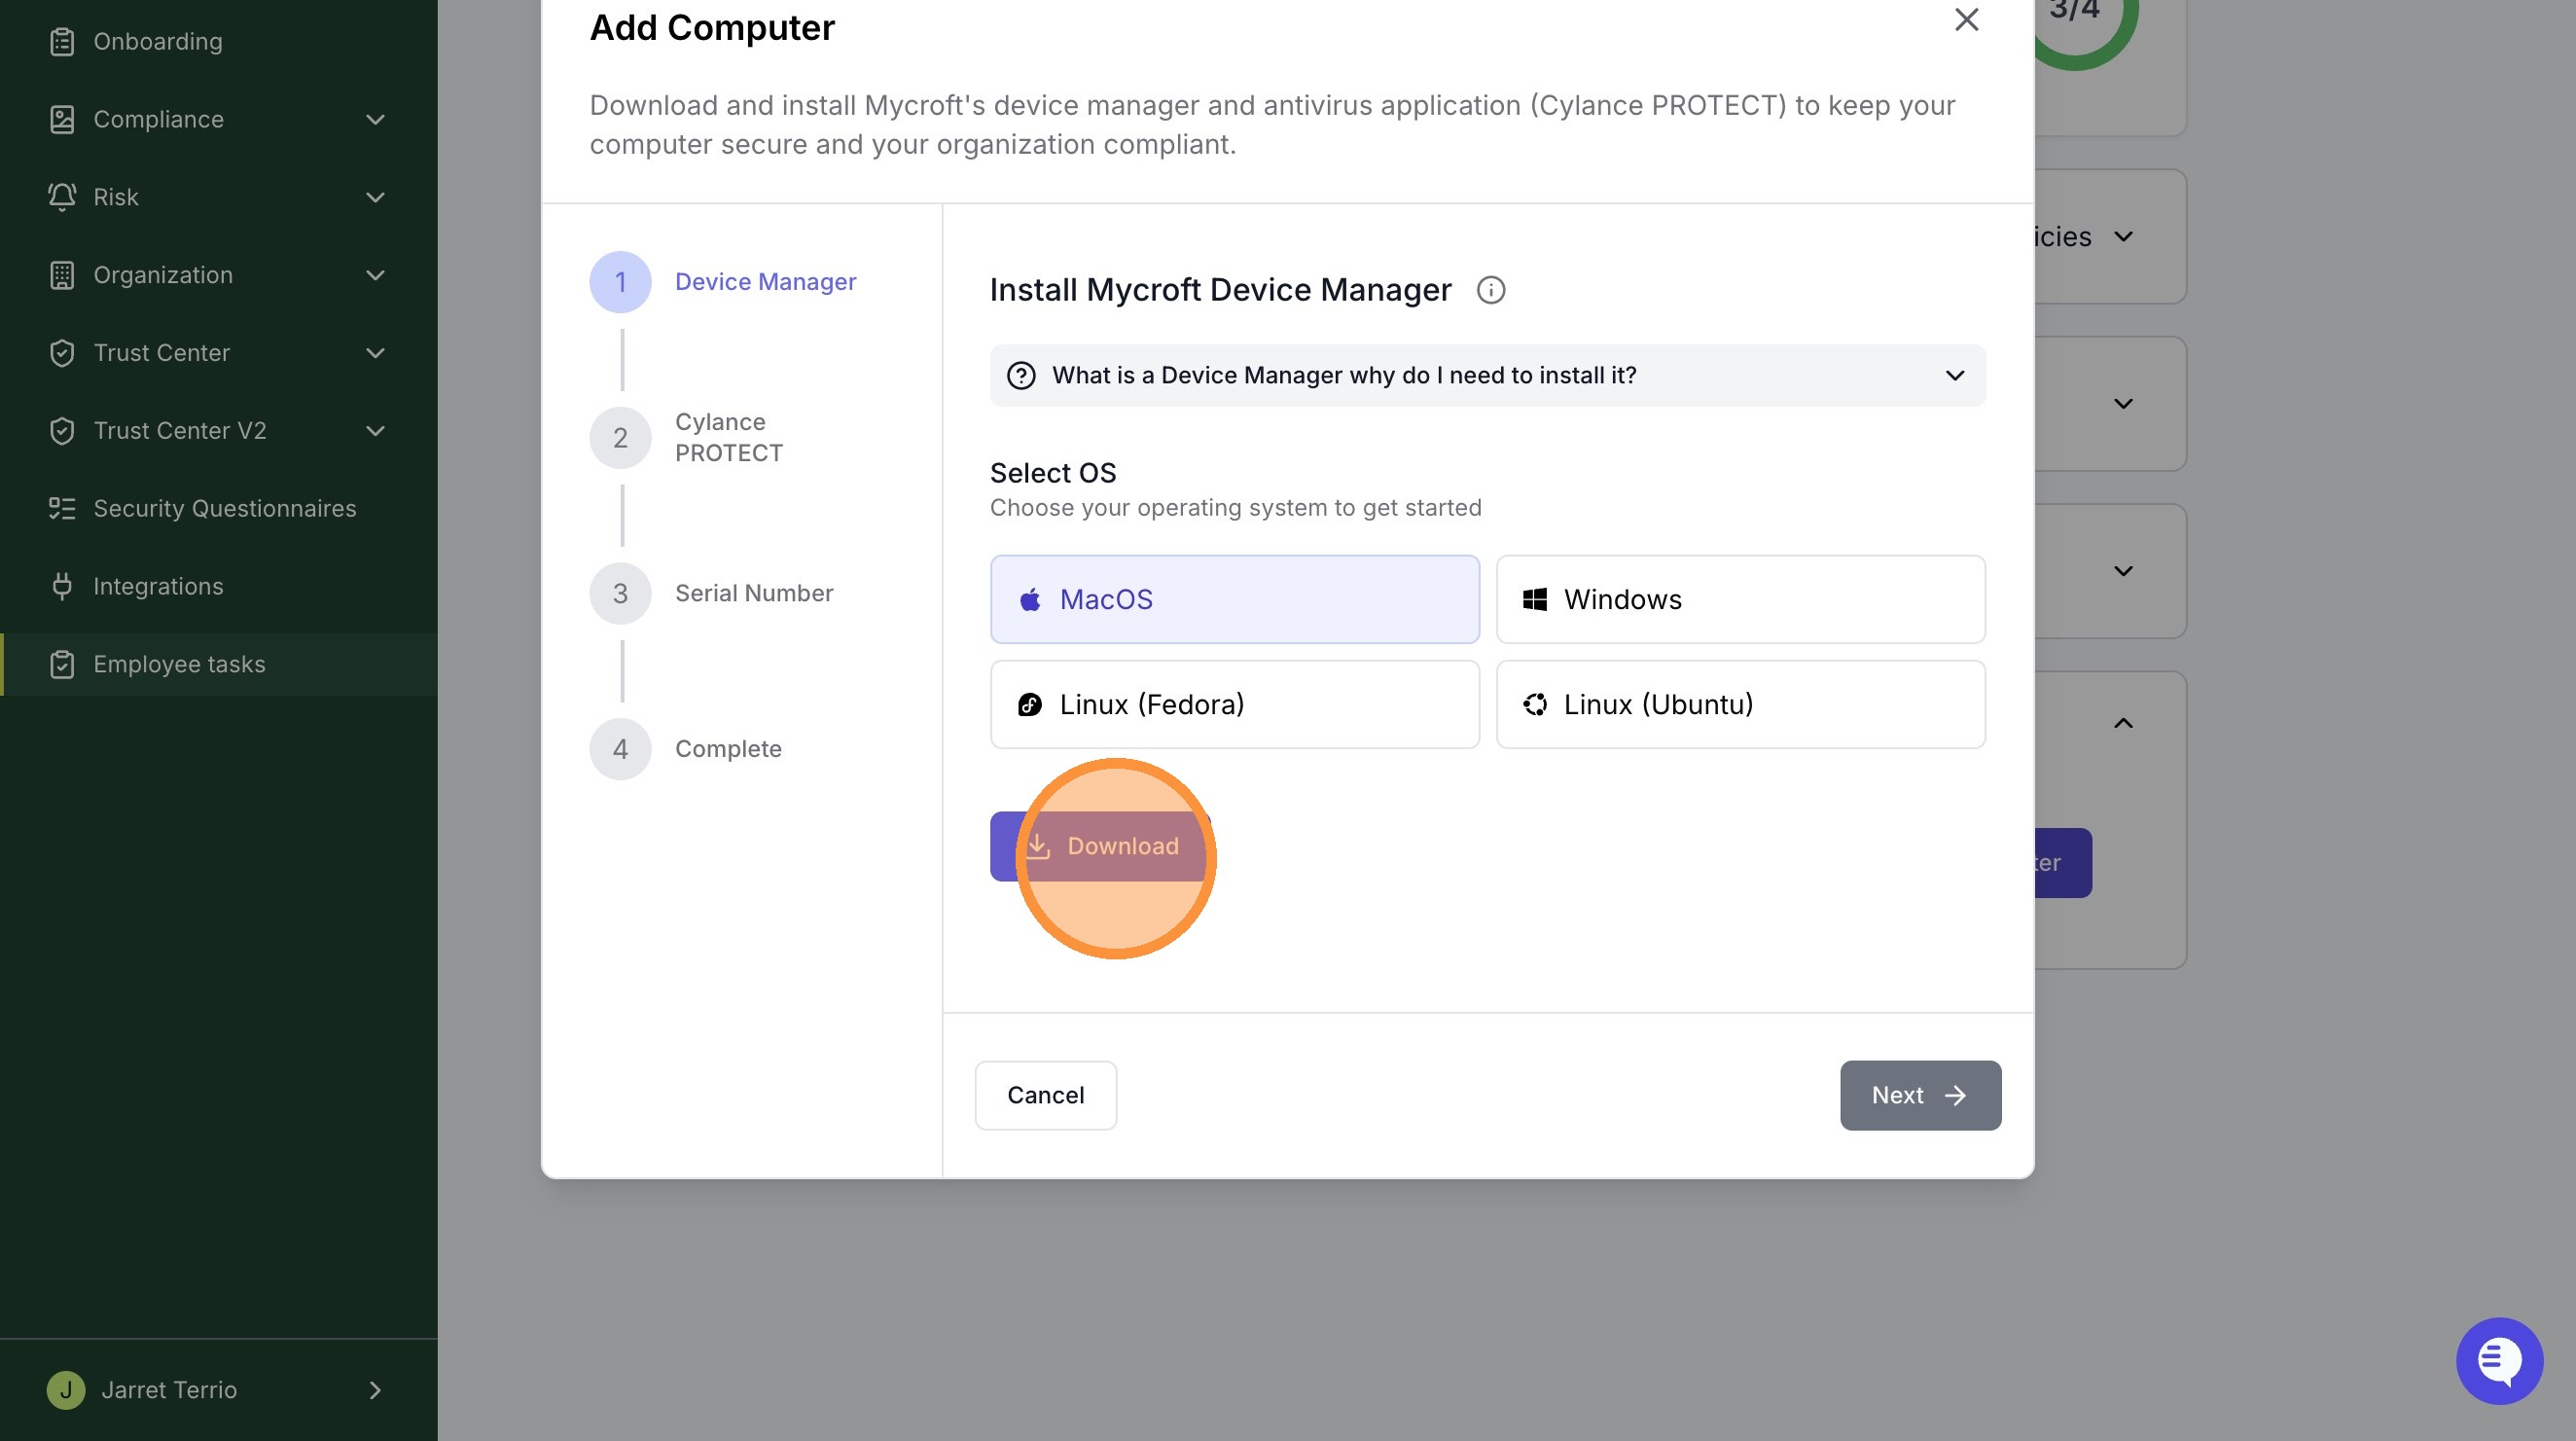
After the package has finished downloading, run the installation package before proceeding to the next steps.
(Optional) Installing Cylance
With the device manager installed, you can now proceed to install our advanced anti-malware solution to help ensure device security. This will involve installing Cylance.
If you’re installing Cylance on MacOS, make sure you also complete the required macOS setup steps to enable the Cylance security extension so it can connect and protect the device. If this step was missed, follow Cylance: “Driver Failed To Connect” MacOS.
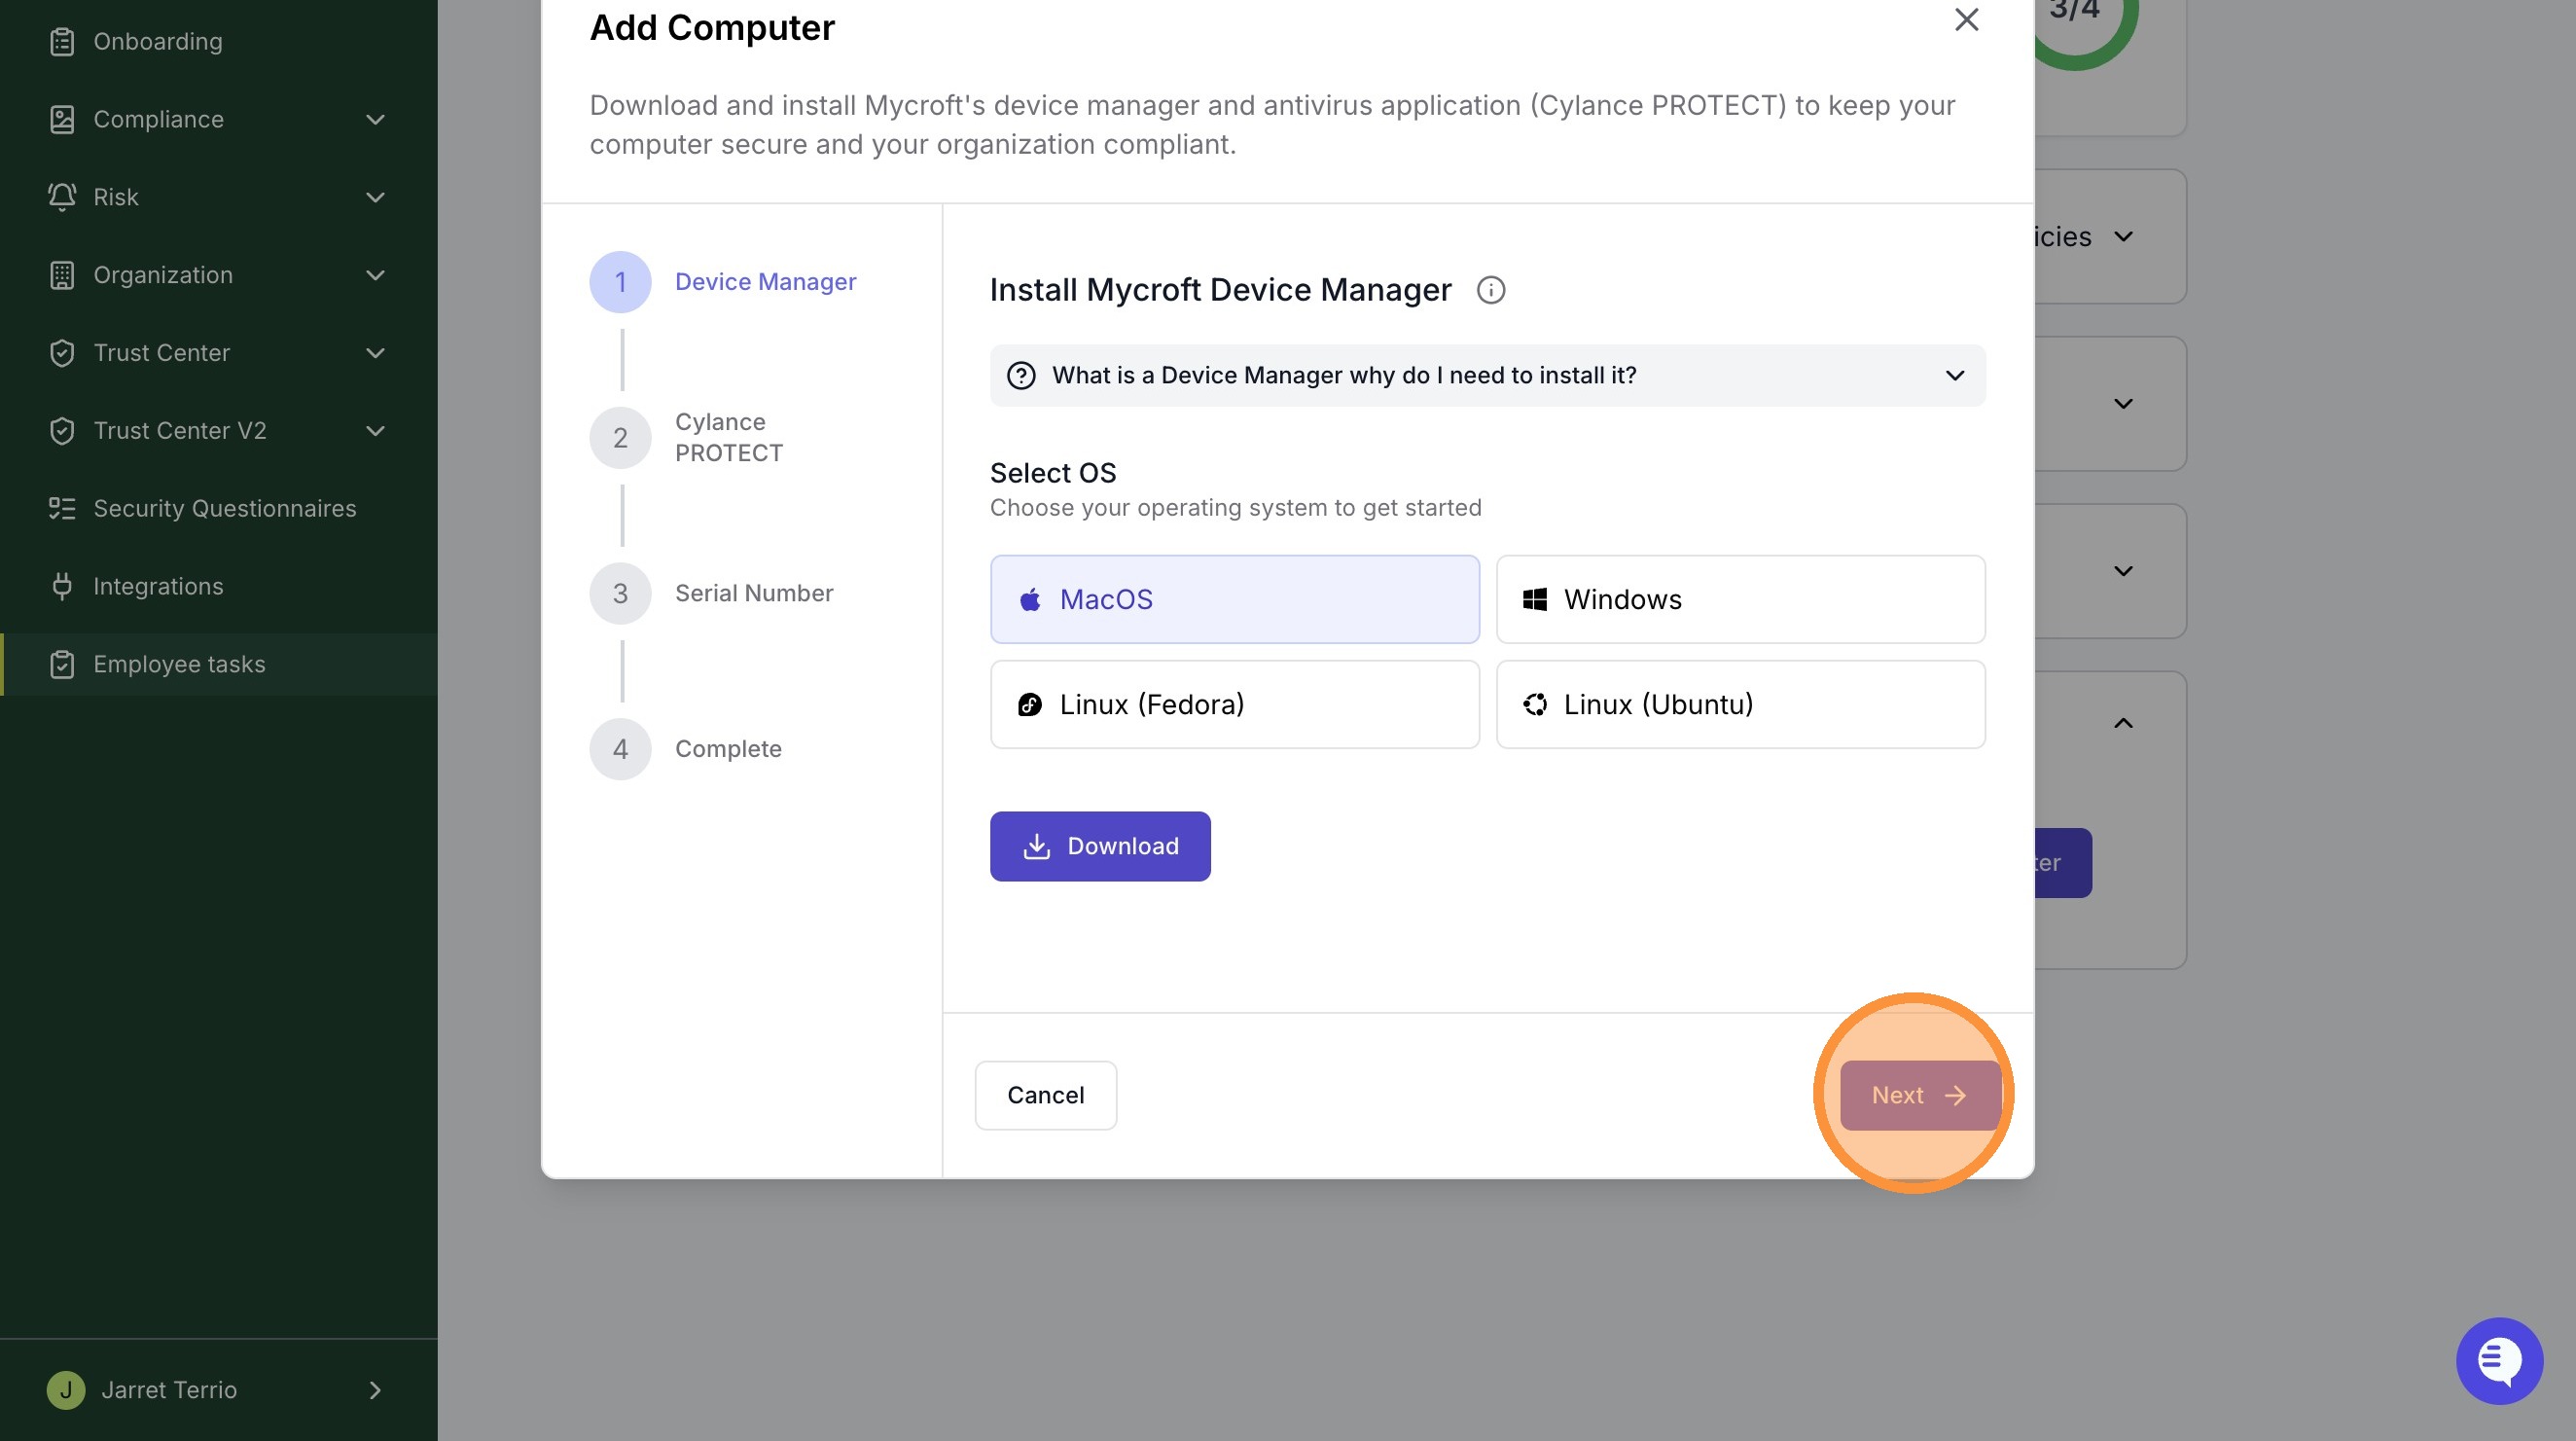
1. Click "Next".
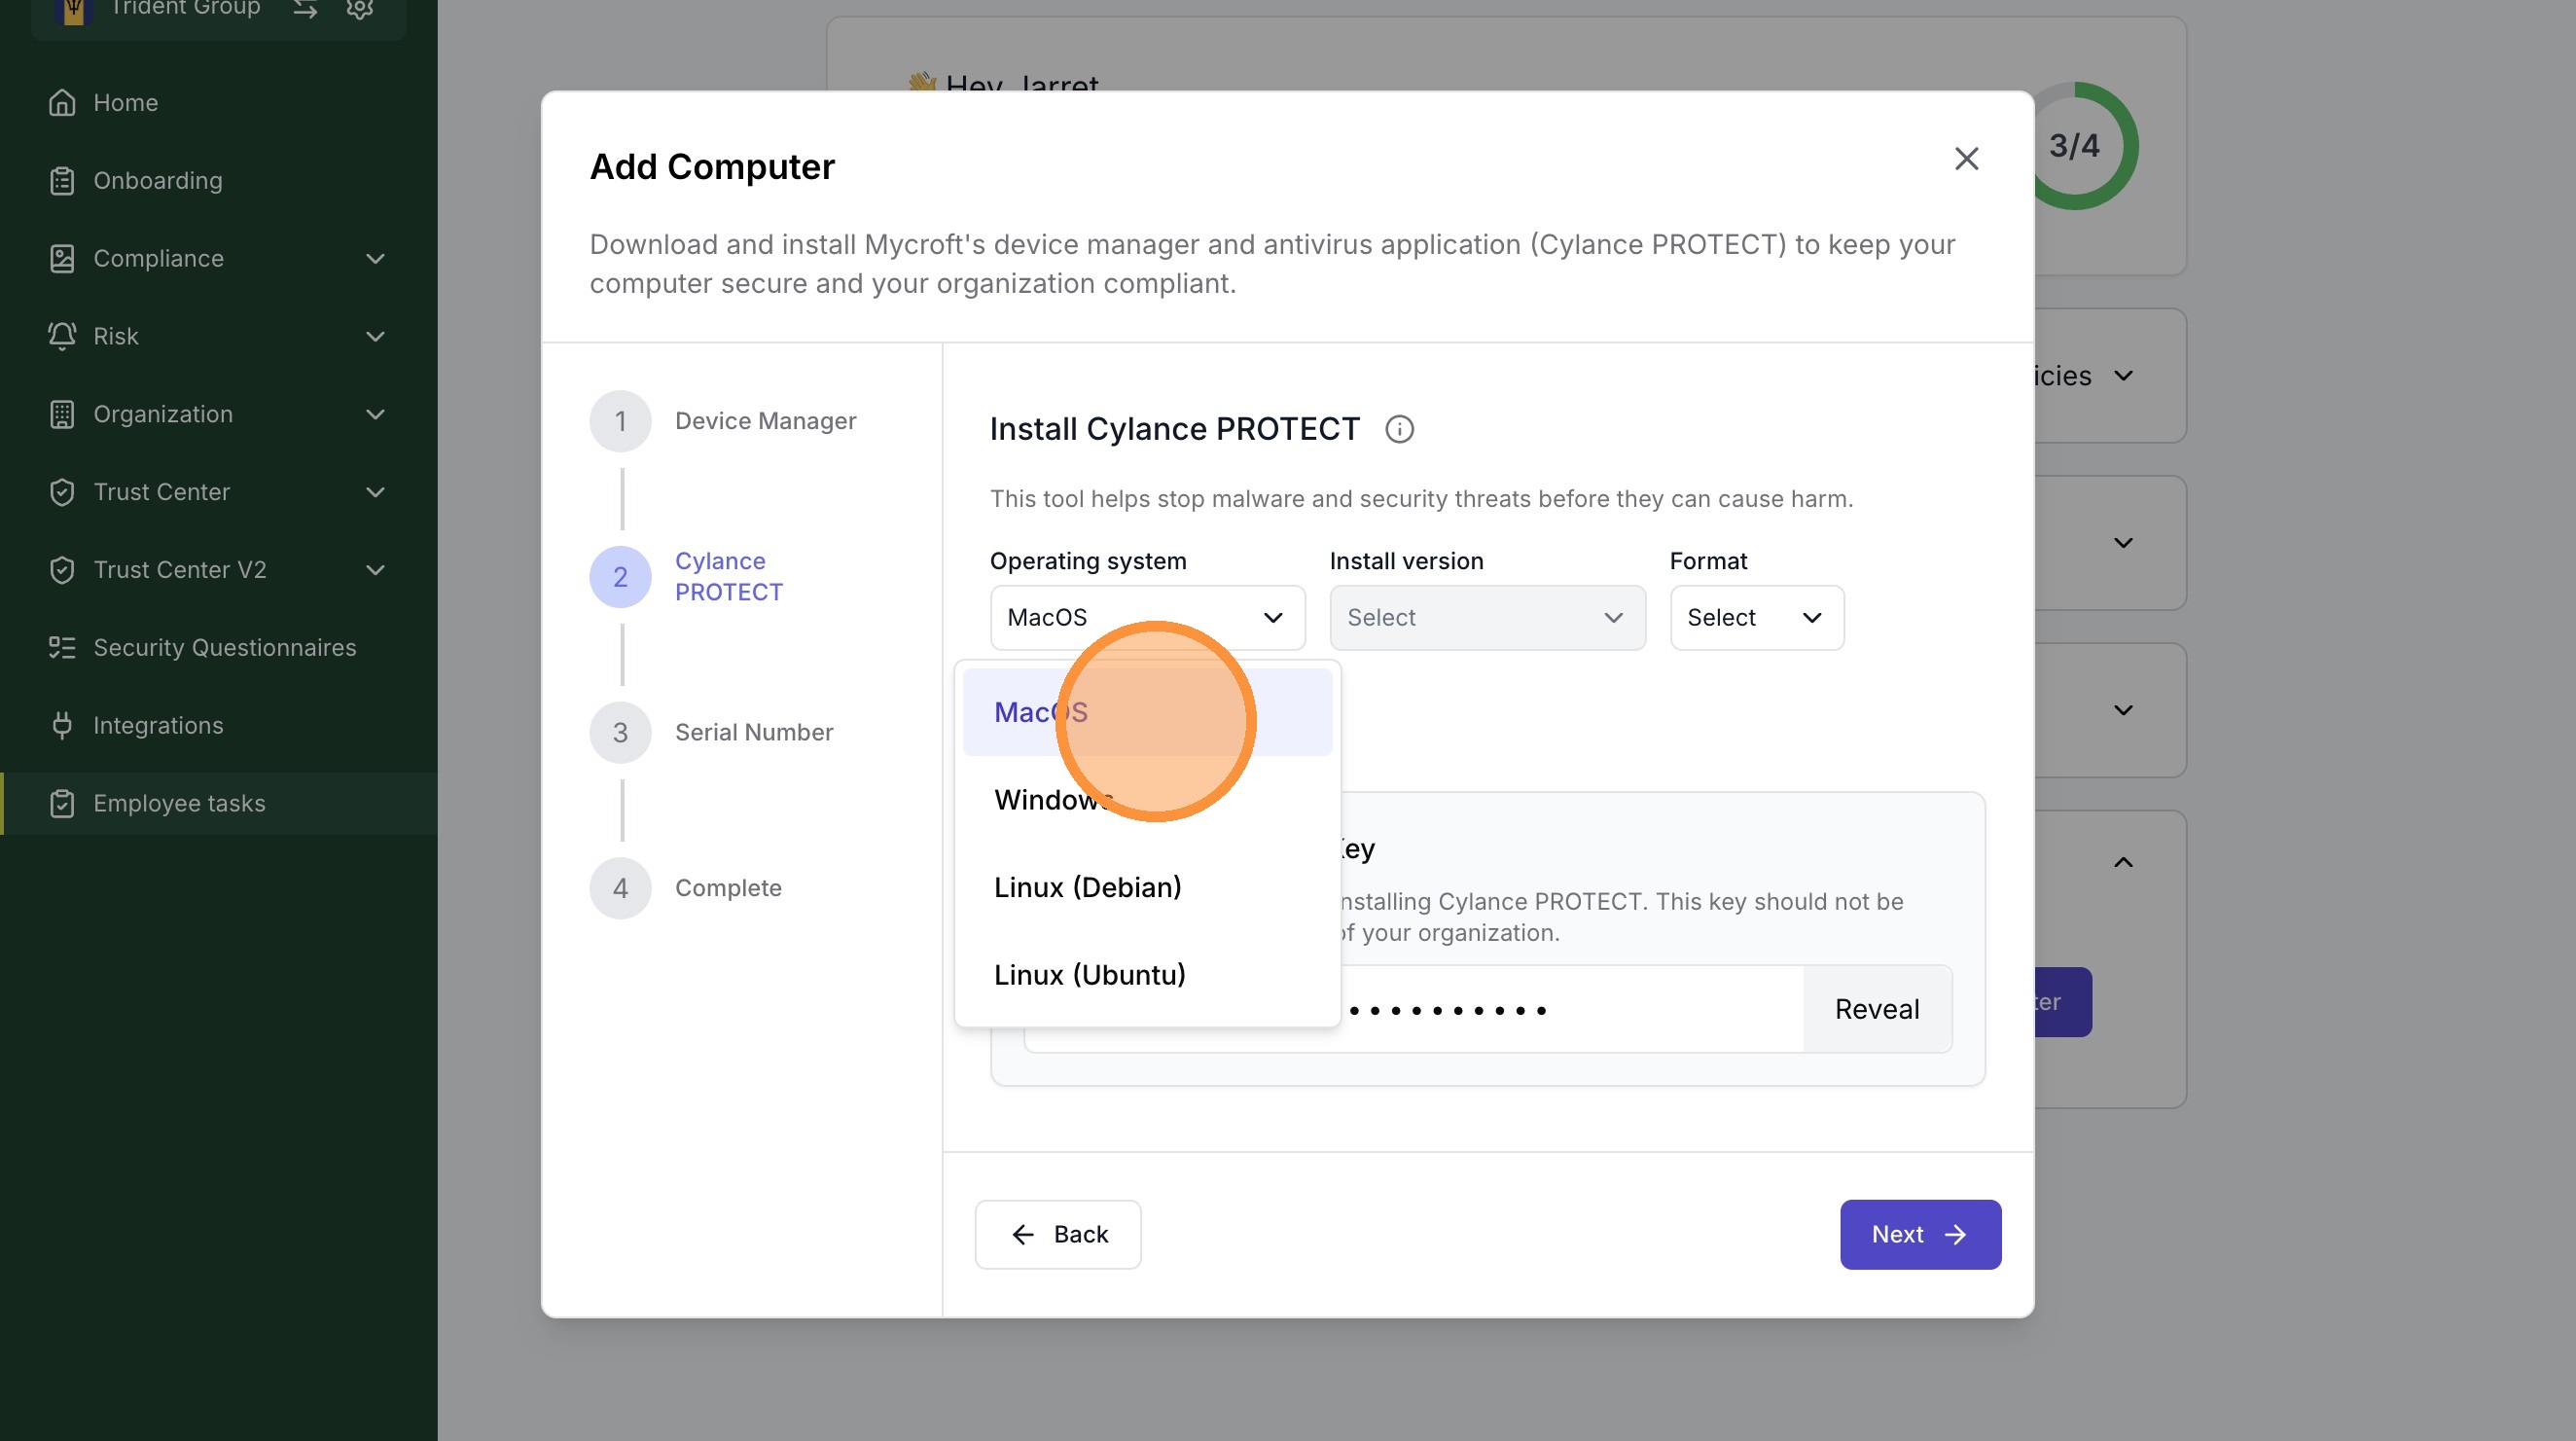
2. Select the Operating System of the device.
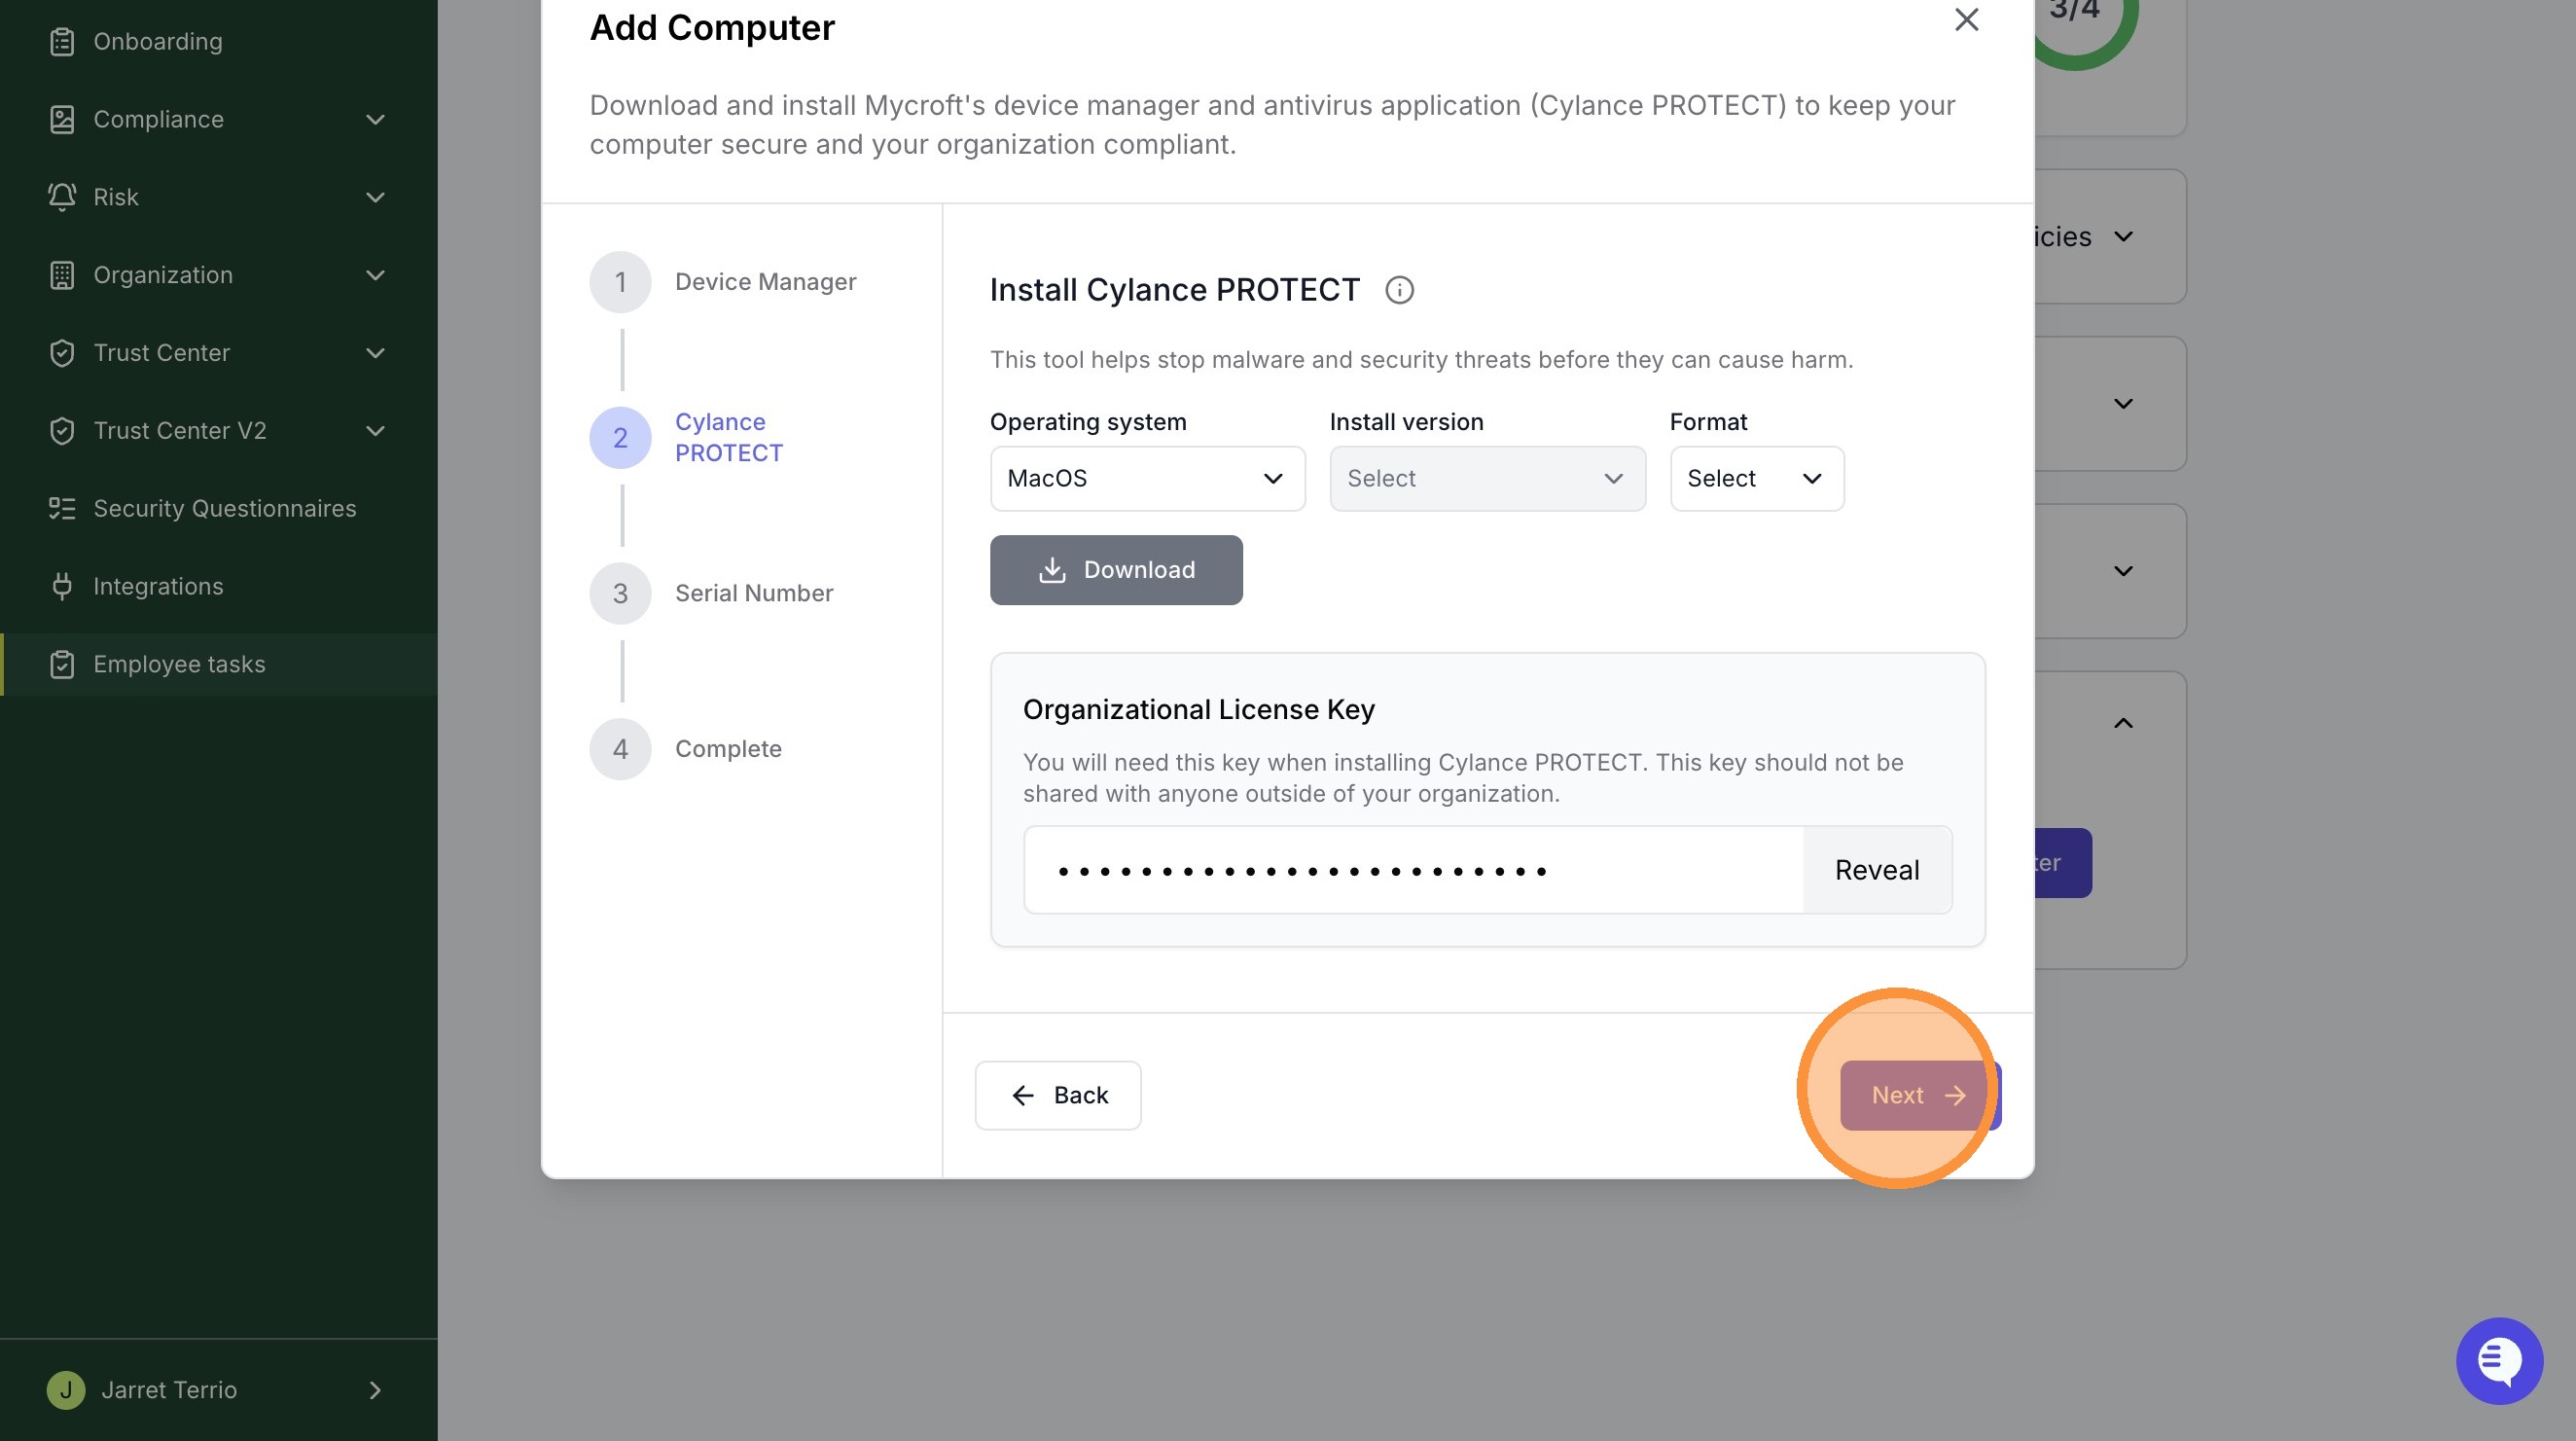
3. When Cylance is installed, click "Next" to proceed.
Linking the Device Serial Number and Completing the Install
To form a connection between the user account, and the newly registered device, we ask to provide the device serial number.
1. Input the device serial number.
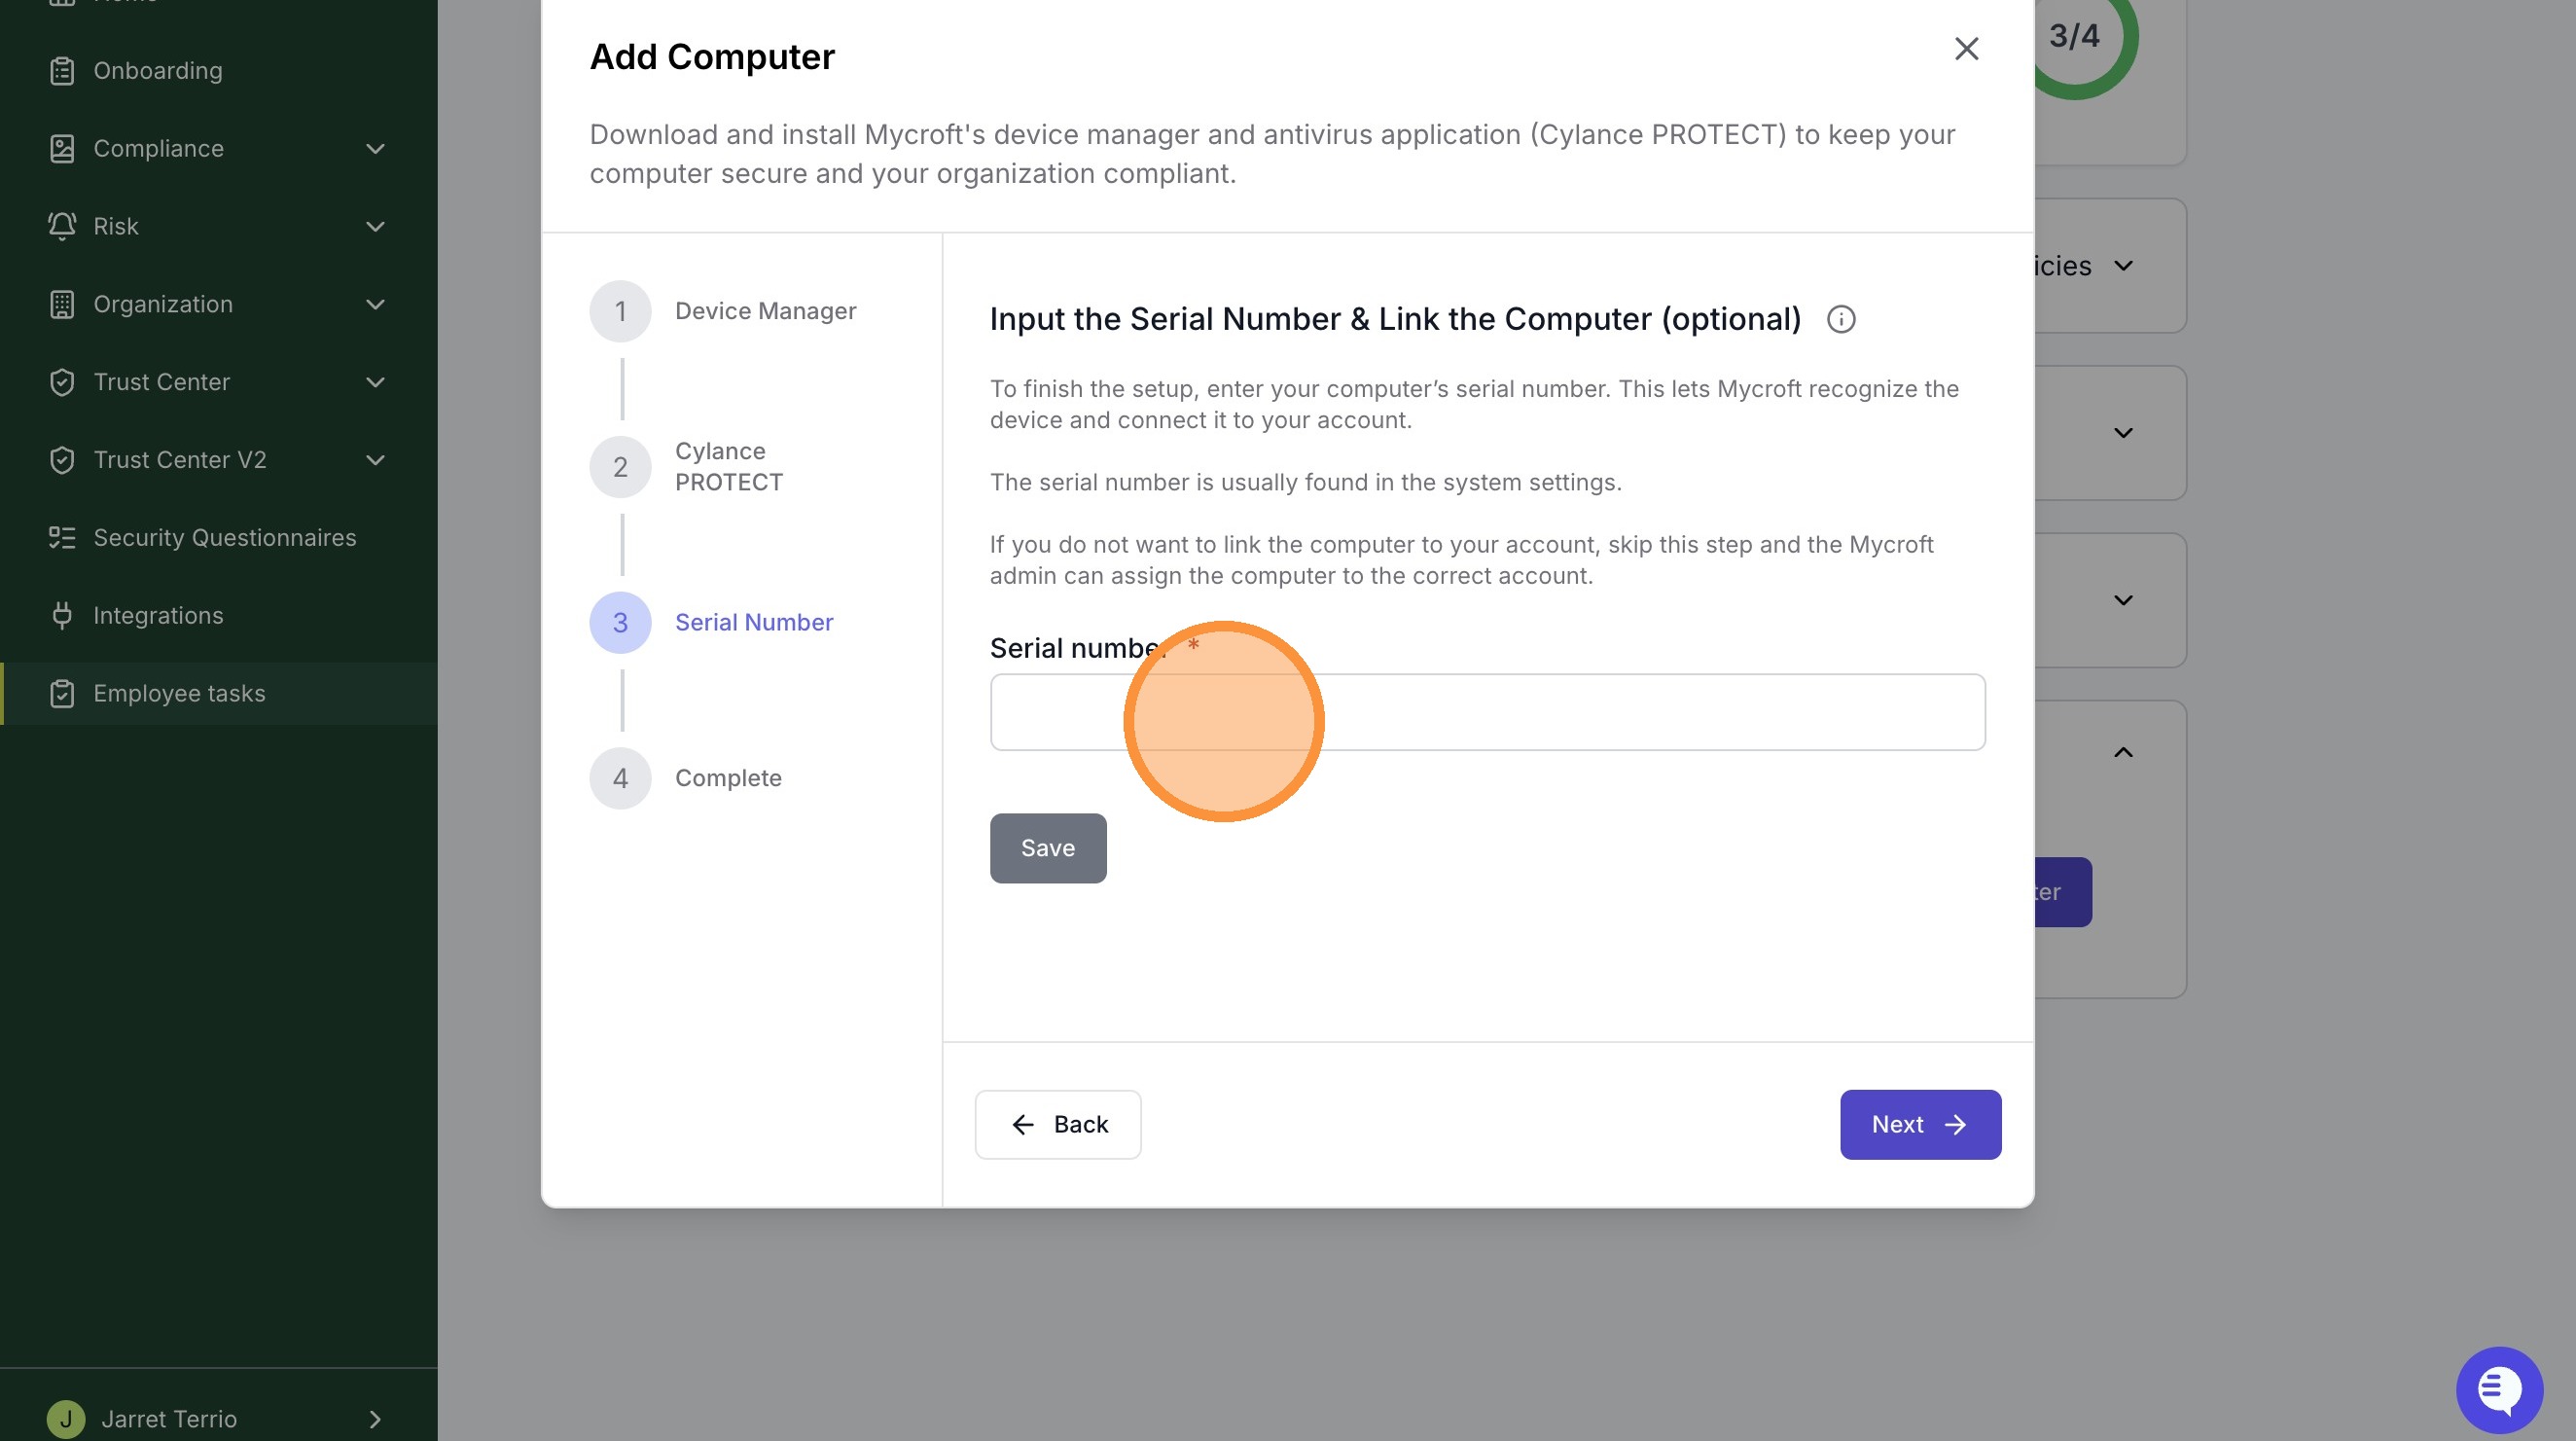
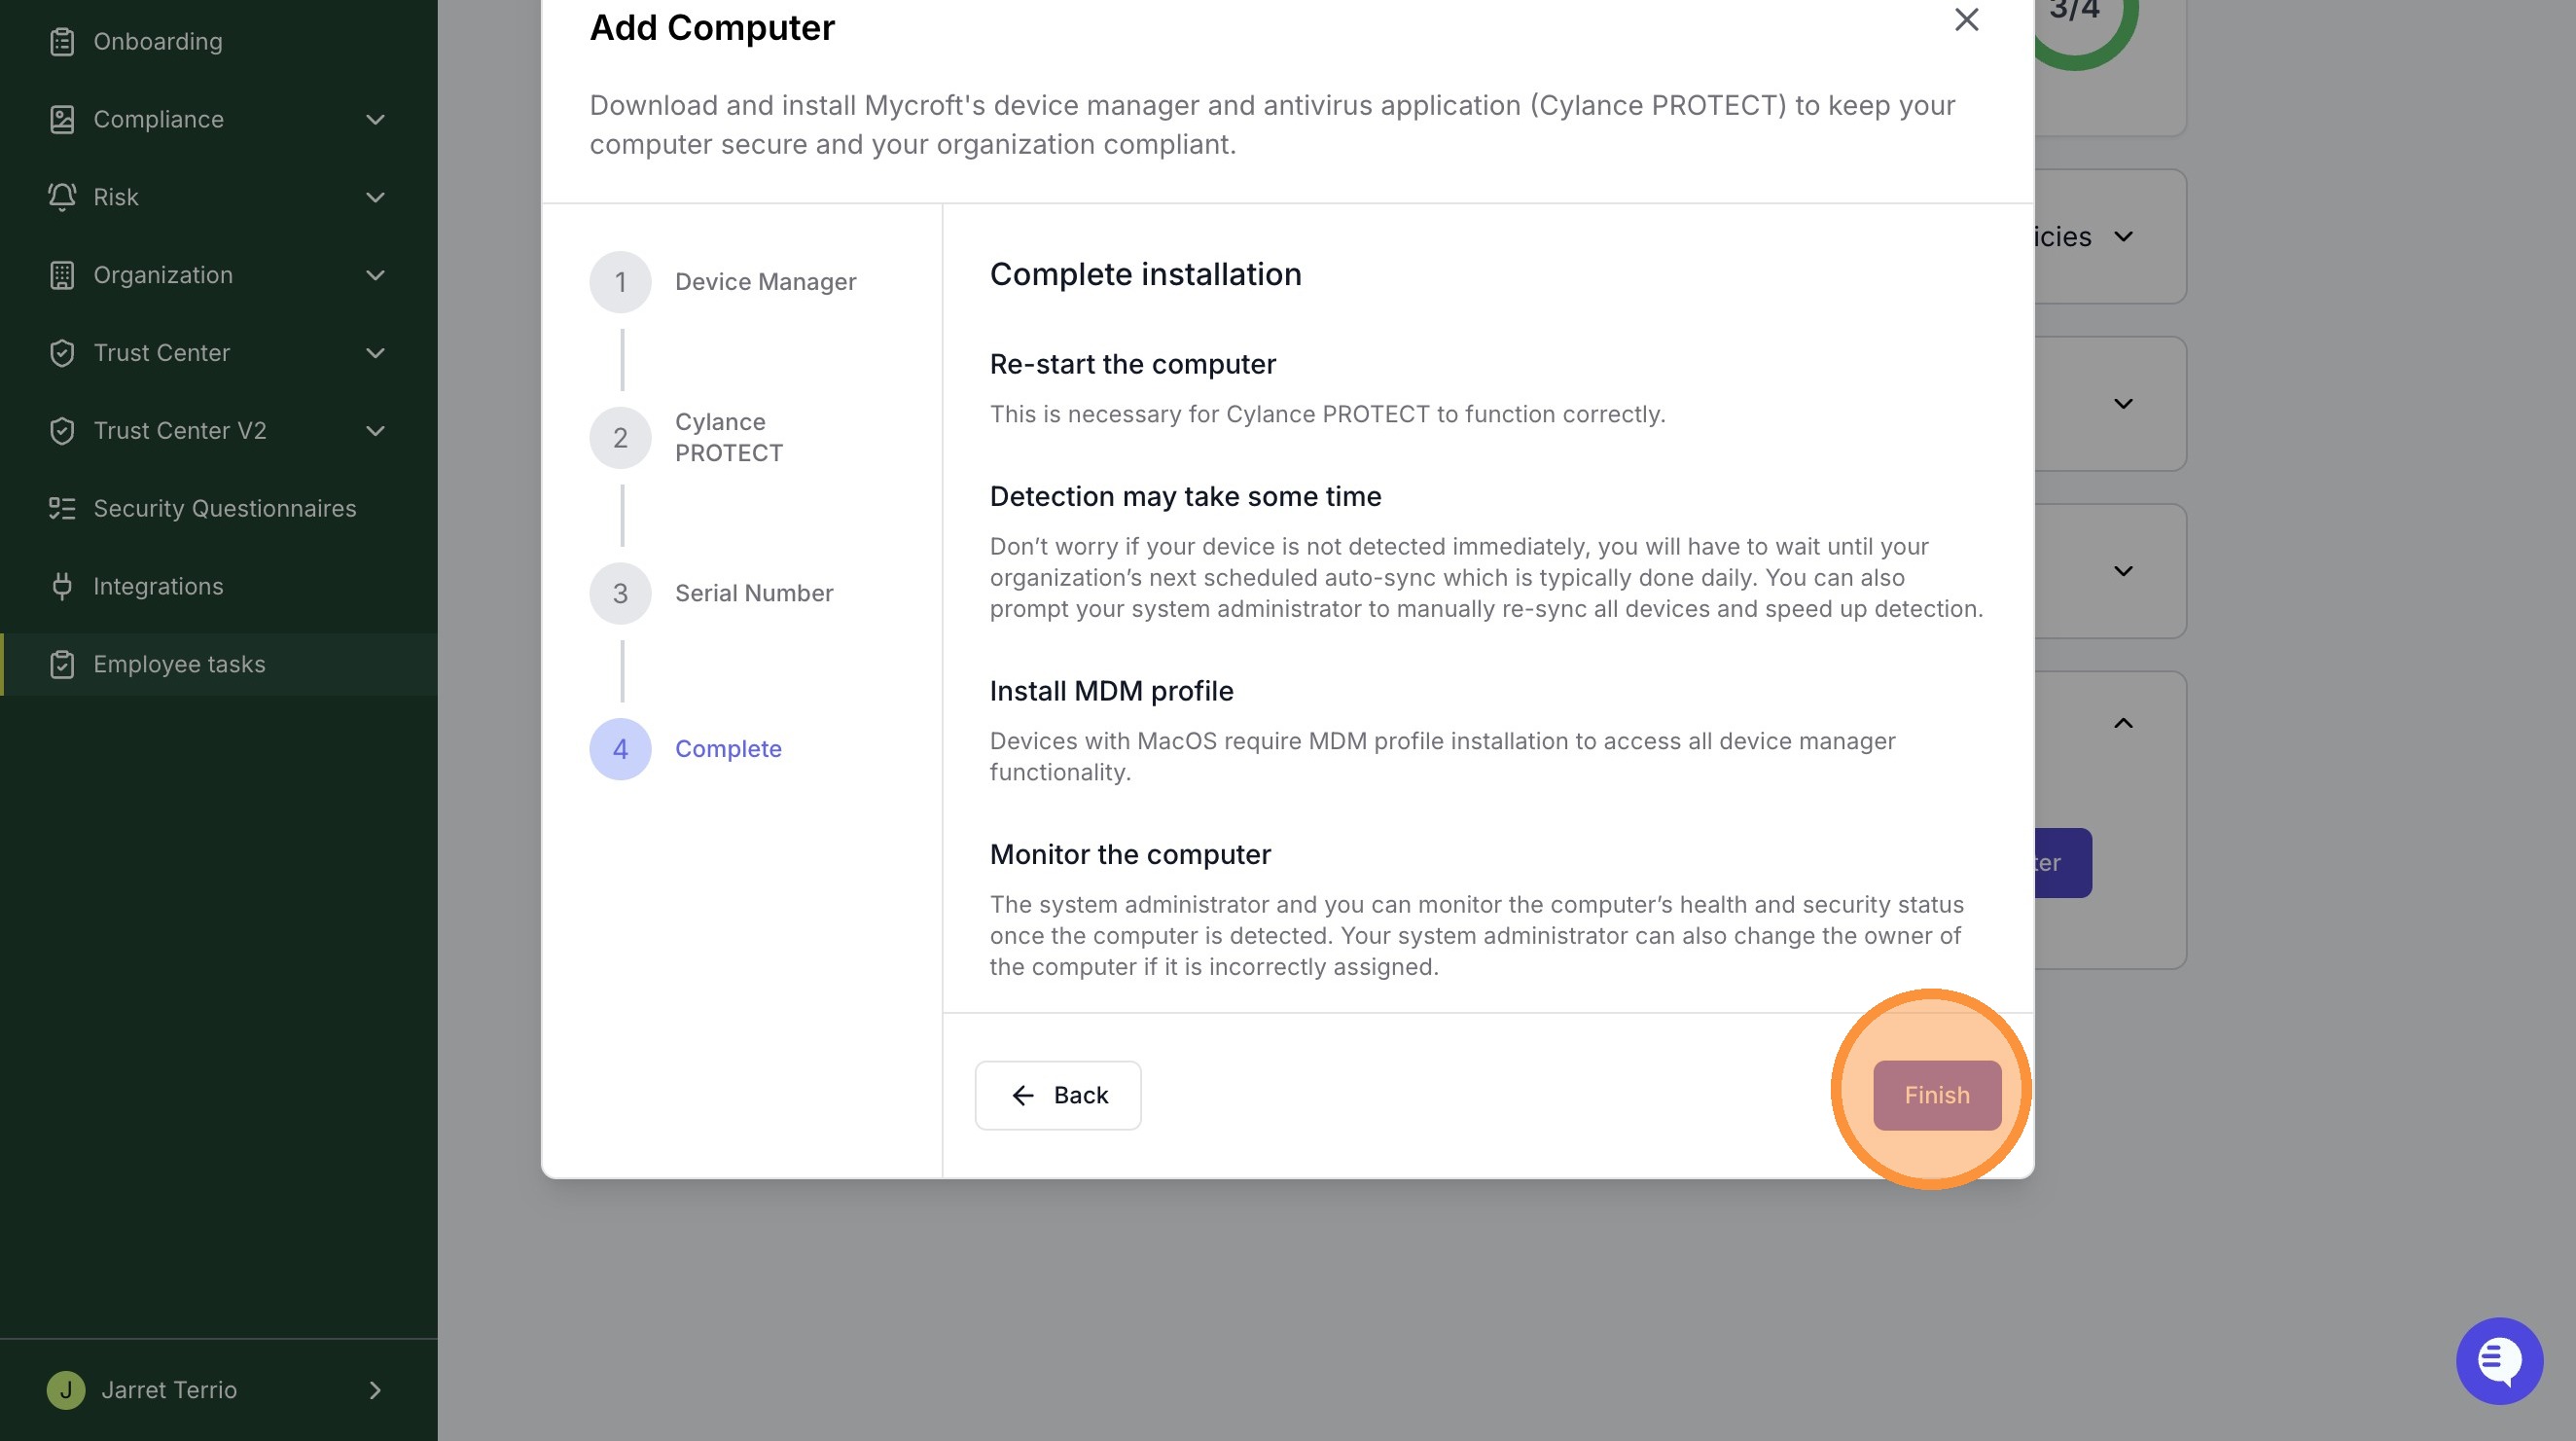
2. Click "Next" to proceed to the finalization step.
Enabling Endpoint Encryption
Prior to restarting your device, it is important to enable endpoint encryption via your device settings to ensure data protection. To do so depends on your device OS:
Mac OS
Using System Settings (macOS Ventura or later):
Click the Apple menu → System Settings Click Privacy & Security in the sidebar. (Or spotlight search "Filevault" with command+space)
Scroll down to FileVault and click the info button (ⓘ) Click Turn On FileVault Choose how you want to unlock your disk:
Use your iCloud account to unlock Create a recovery key (write this down and store it safely)
Click Continue and enter your admin password Restart your Mac when prompted
Windows Endpoint Encryption Setup
Applies to: Windows Pro, Enterprise, or Education editions
Method 1: Enable Encryption via Settings
Windows 10:
Open Settings (
Windows Key + I).Navigate to Update & Security > Device encryption.
If available, click Turn on to enable encryption.
Windows 11:
Open Settings.
Navigate to Privacy & Security > Device encryption.
Click Turn on if device encryption is available.
Method 2: Enable BitLocker via Control Panel
Open the Control Panel.
Go to System and Security > BitLocker Drive Encryption.
Click Turn on BitLocker next to your system drive (typically C:).
Choose how you want to unlock your drive:
Password
PIN
USB key
Choose how to back up your recovery key:
Save to your Microsoft account
Save to a USB drive
Print it out
Select your encryption preference:
Encrypt used space only (faster for new drives)
Encrypt the entire drive (recommended for better security)
Run the BitLocker system check.